My 5-step process for unloading a pneumatic trailer without the hassle of clogging and watching it every second
In this article, I’ll dive into the essentials of pneumatic trailers and the proven method I found to unload them efficiently. Why take my word for it? My name is Alex and i have over a year of dedicated experience in dry bulk hauling. I was first trained by two old drivers who had been doing dry bulk for over 10 years. naturally, I thought I could do it better than them. so I spent countless hours testing different unloading techniques to find out what truly works—and what doesn’t. By the way, those old guys were right. Without further ado let’s get right into it.
What is a Pneumatic Trailer?
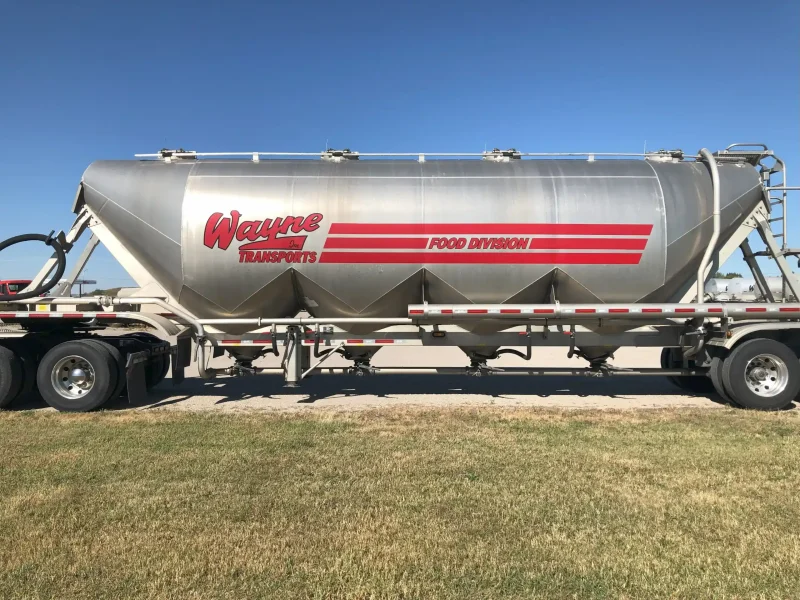
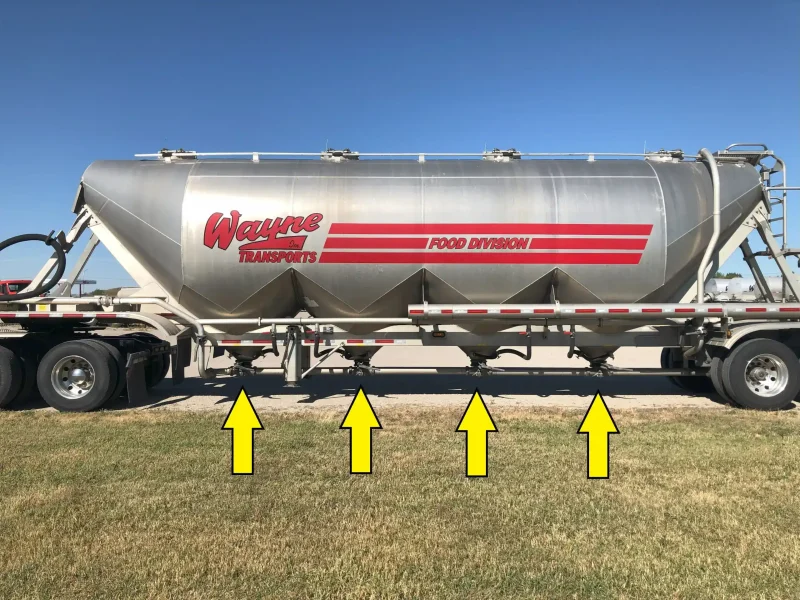
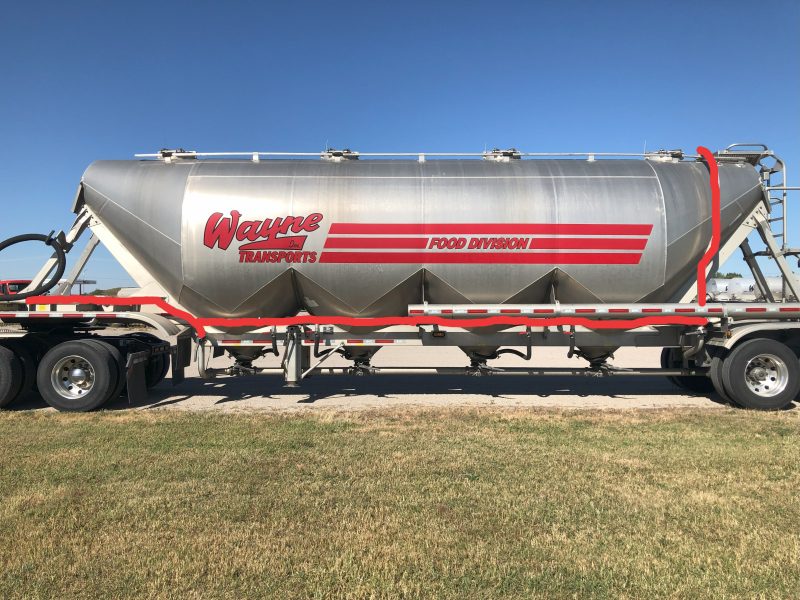
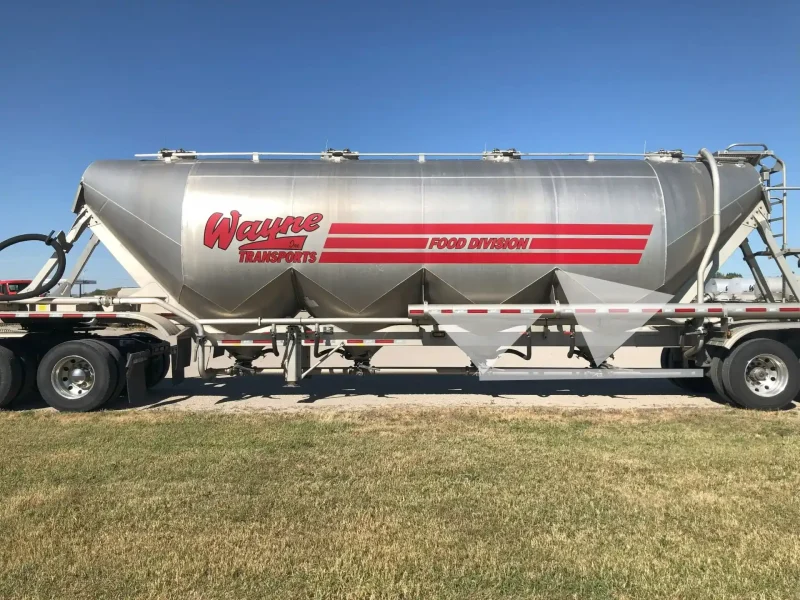
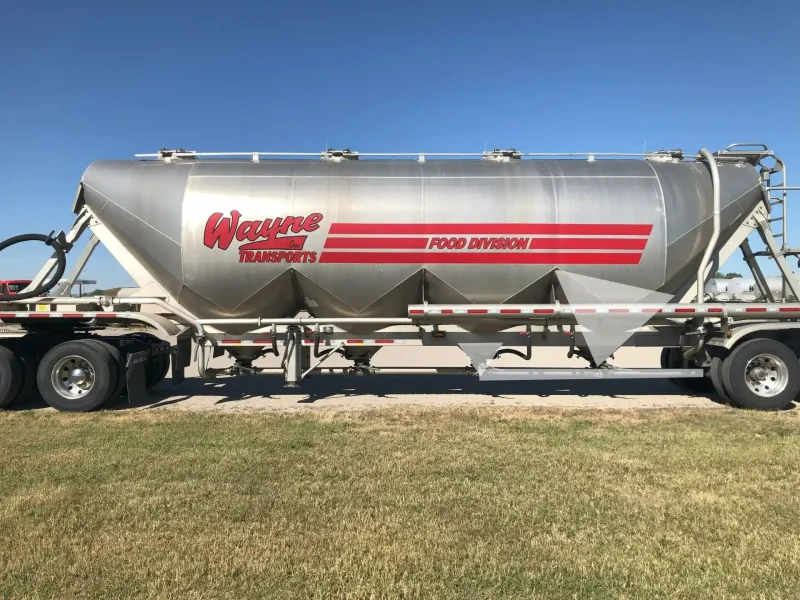
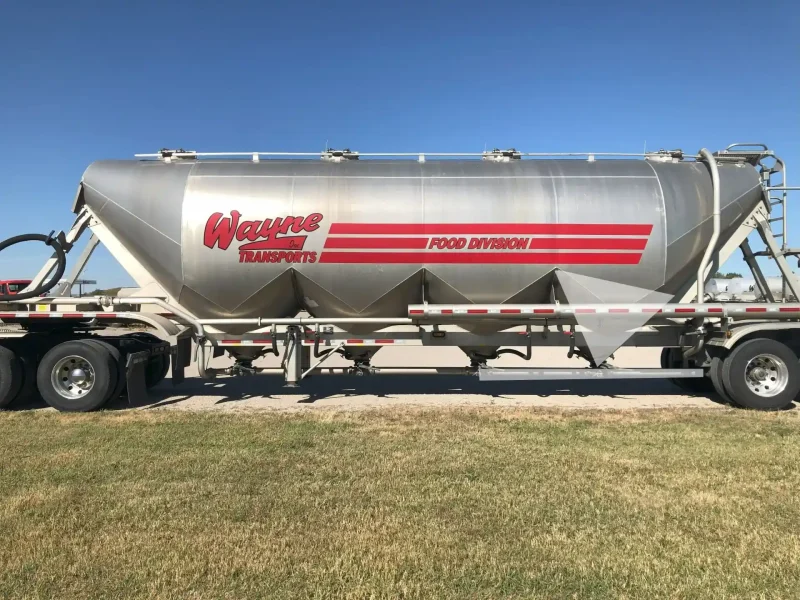
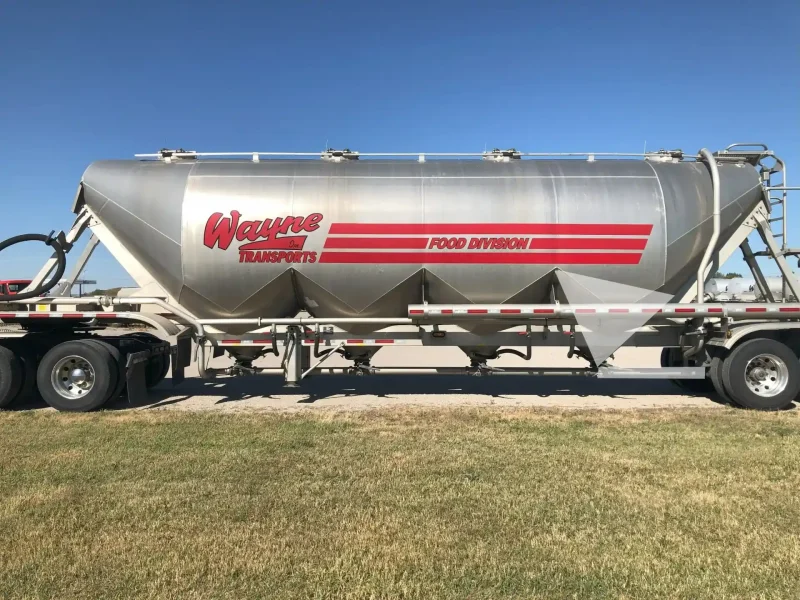
A pneumatic trailer, or a dry bulk trailer, is a specialized tanker designed to transport dry bulk materials commonly used in construction and the food industry. These trailers use high-pressure air to transfer products from the trailer to a storage tank. Pneumatic trailers come in various configurations, with the most common designs feature either a 3-hopper or 4-hopper layout. To picture it, imagine a large air compressor tank: the product rests at the bottom, much like water, and the high-pressure air works to push it out smoothly.
What are the Different Components of a Pneumatic Trailer?
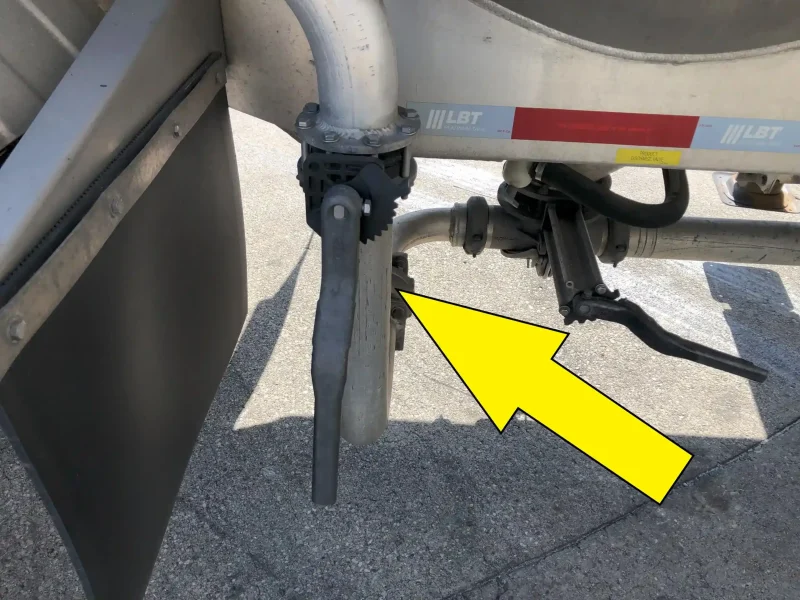
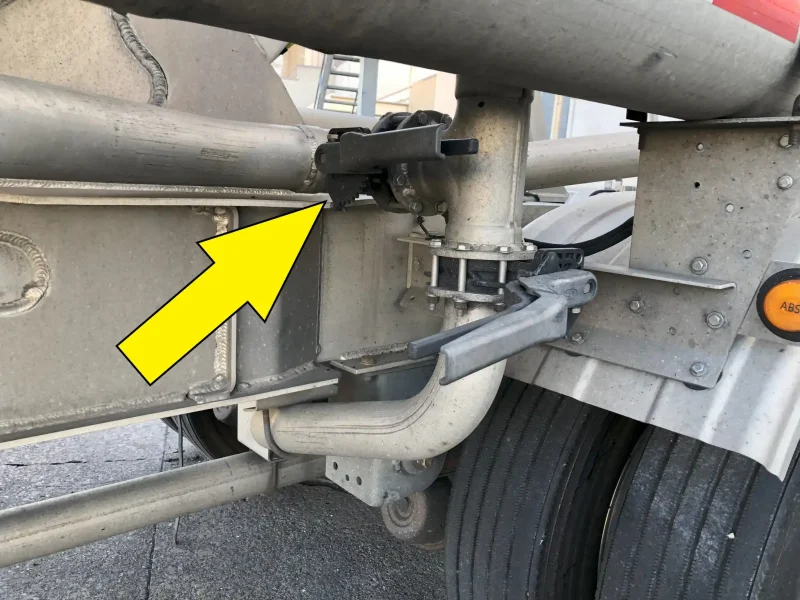
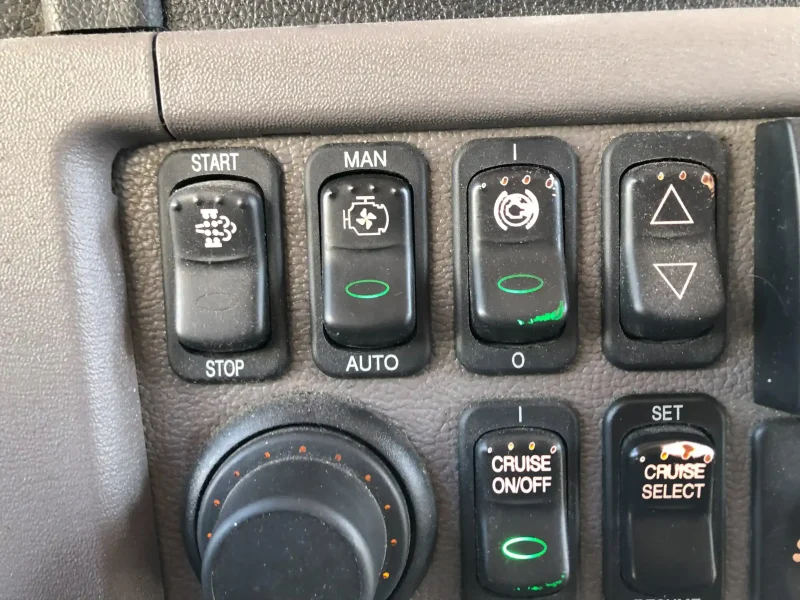
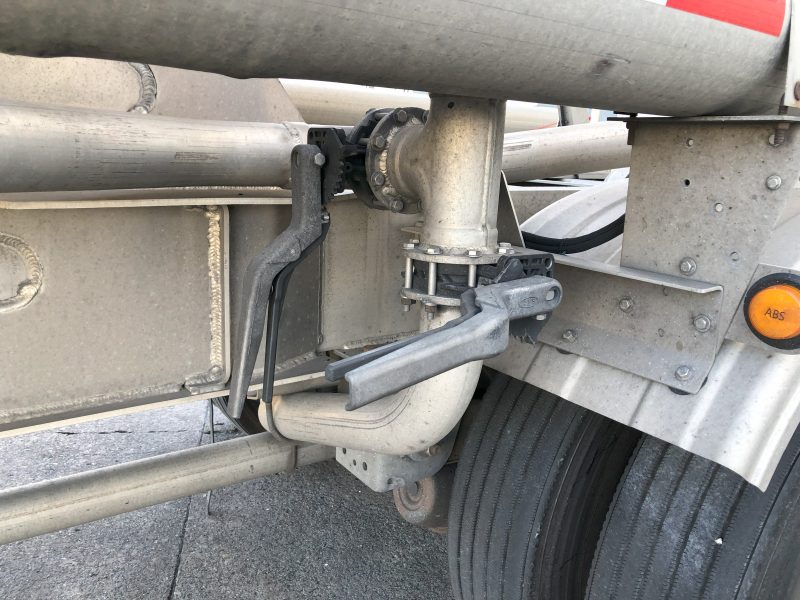
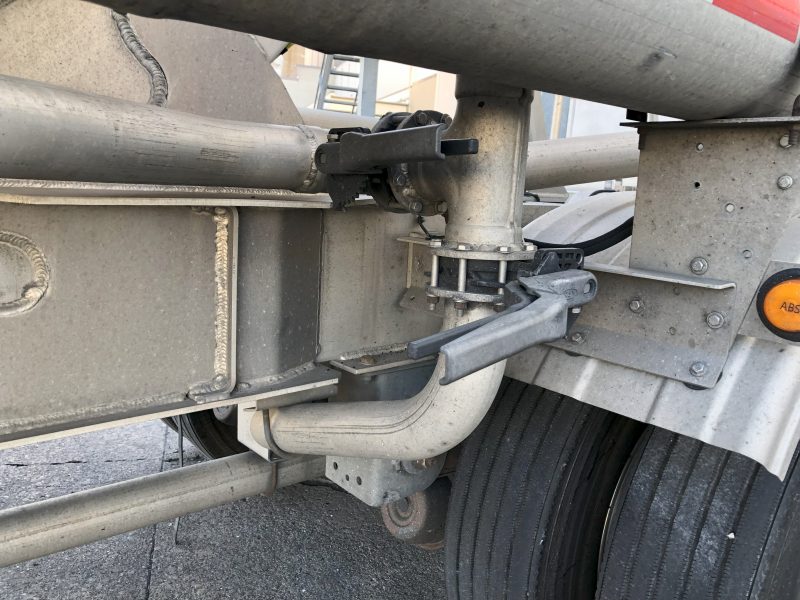
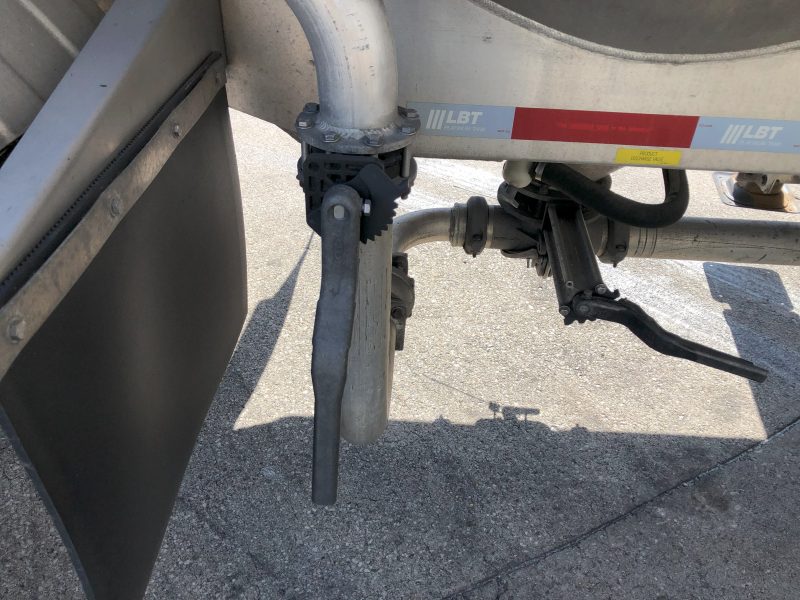
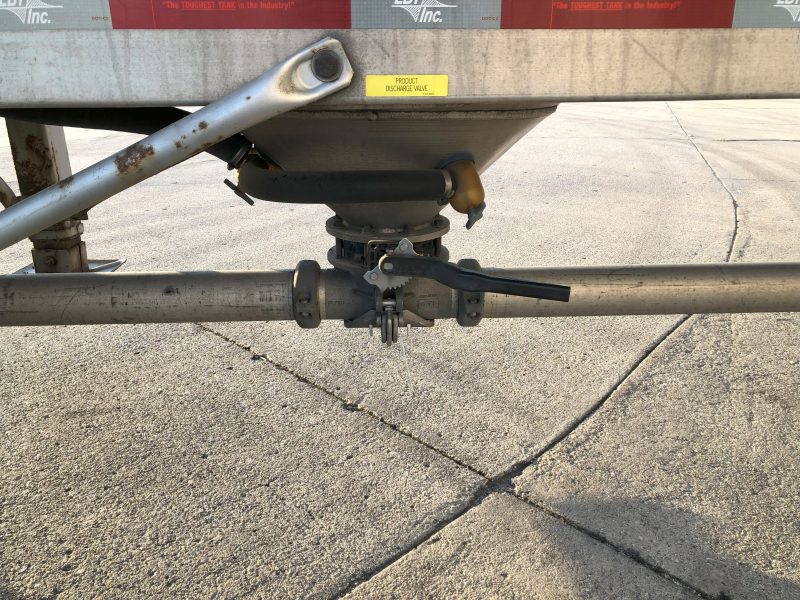
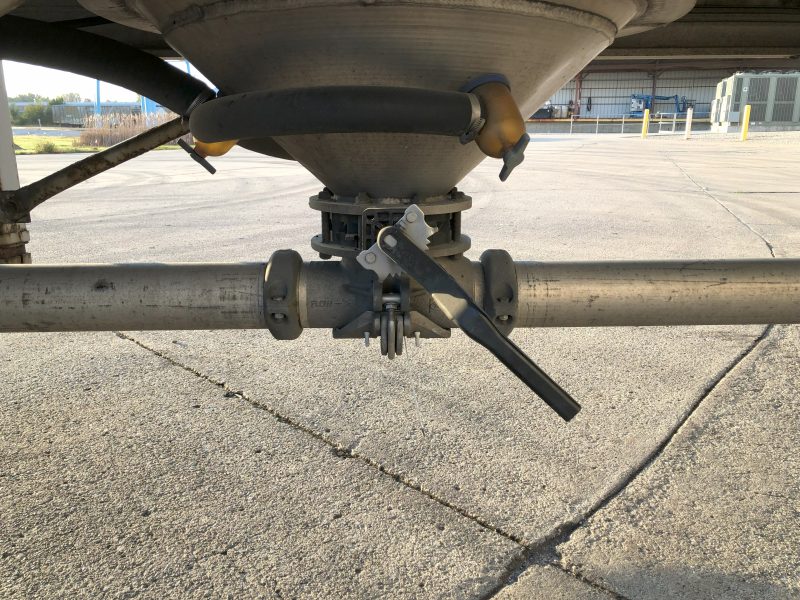
Product Line Valve
The product line valve regulates the pressure within the product line. It also redirects air to the aerators and tank.
Tank Valve
The tank valve directs air to the tank.
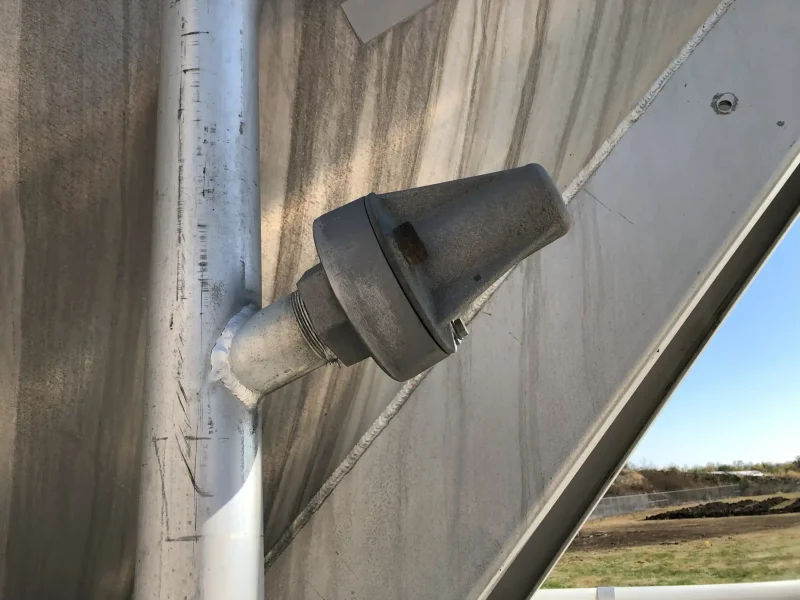
Blow Down Valve (Emergency valve)
The blowdown valve, or the emergency valve, is designed to release tank pressure. It is primarily used in emergencies and at the end of loading to depressurize the system fully.
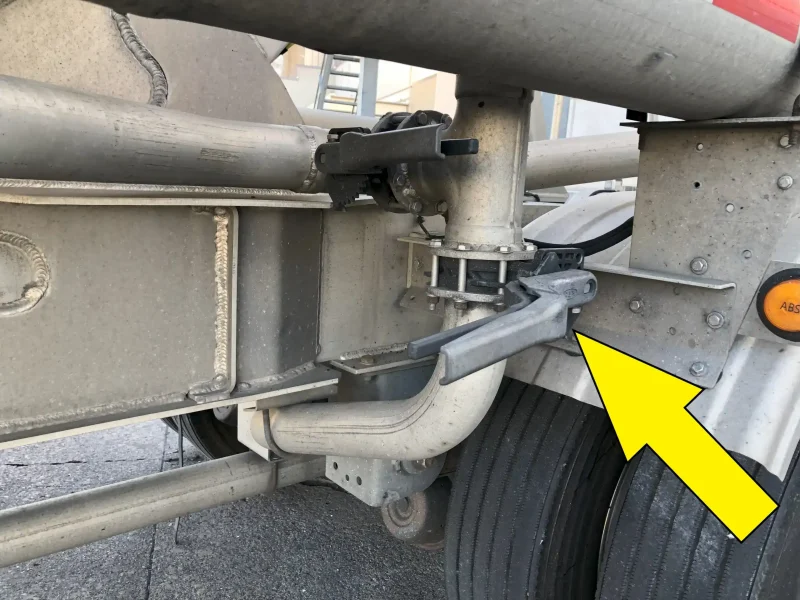
Product Valve
The product valve controls how much product goes through the product line.
Aerator Valves
The aerator valves direct air to the aerators at the bottom of the hoppers.
Aerators
The aerators break up any material clumping up around the product valve. Depending on the product inside, it helps to “fluffed up” to make the unloading easier.
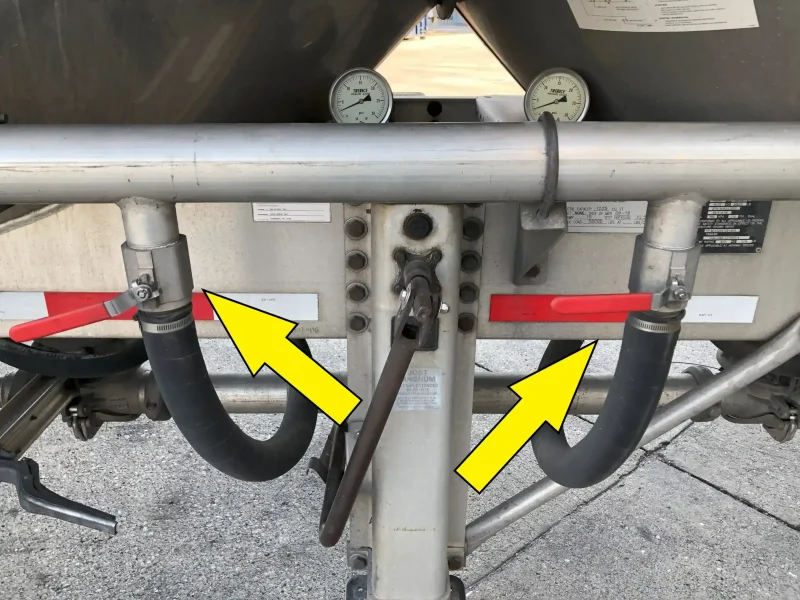
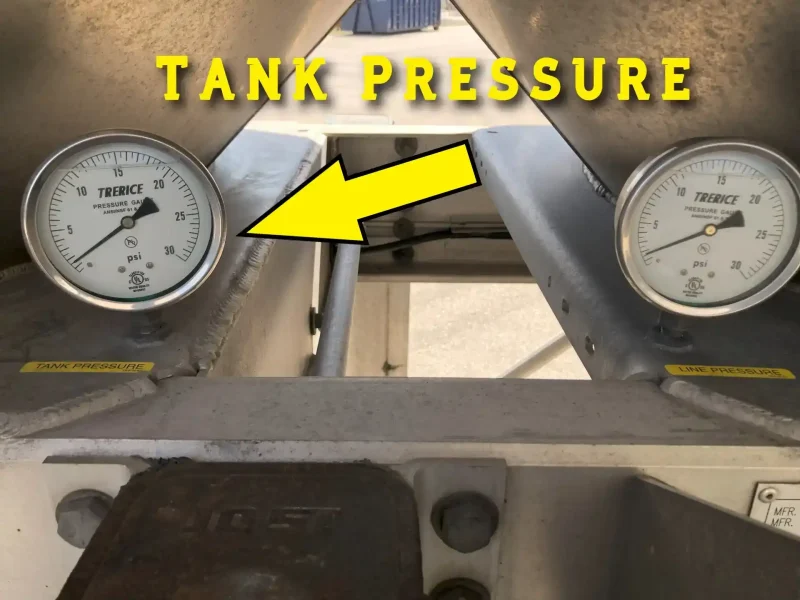
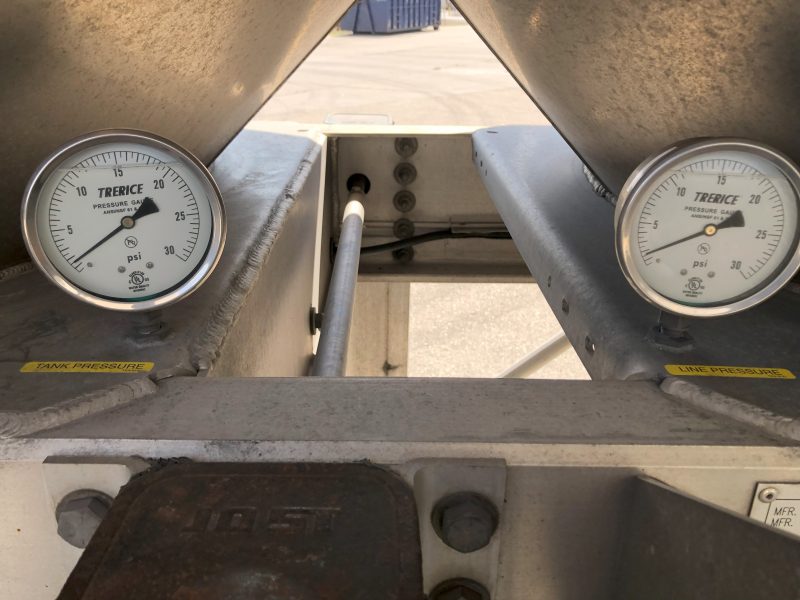
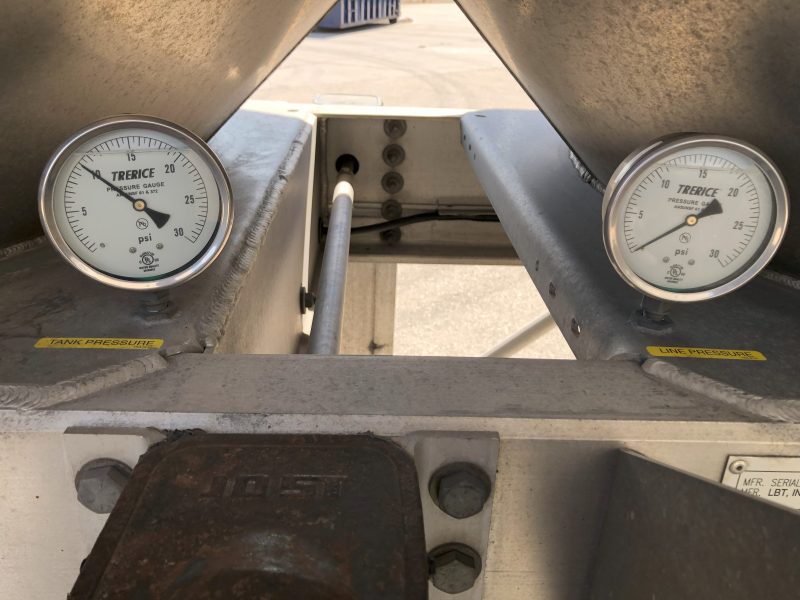
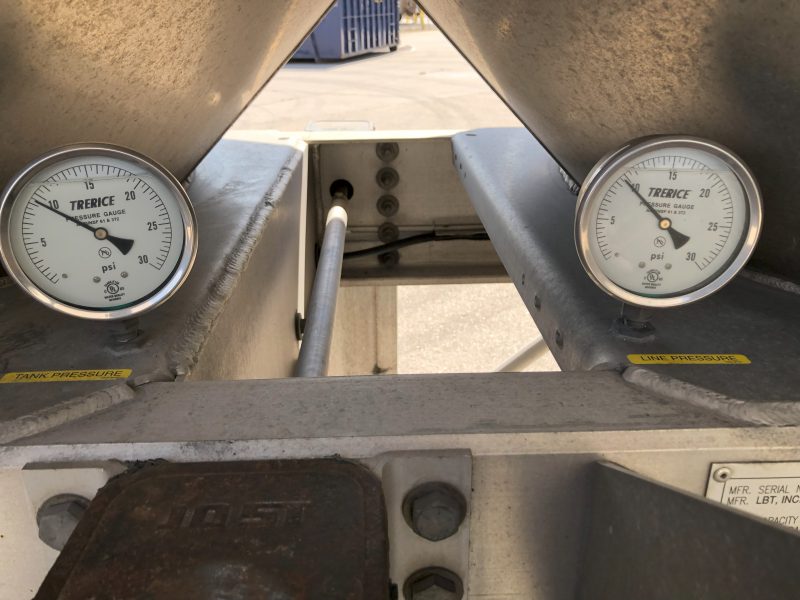
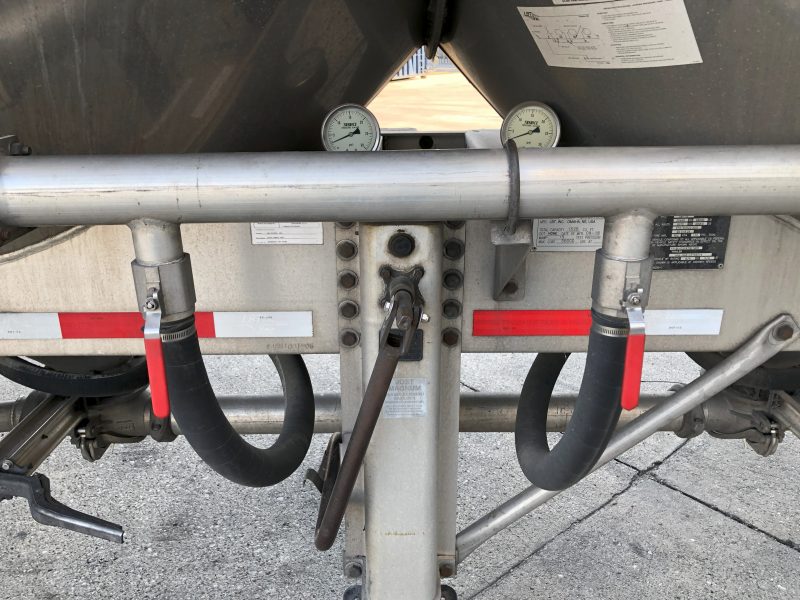
Tank Pressure Gauge
The tank pressure gauge measures the internal pressure within the trailer. This pressure should remain stable throughout the loading process, primarily influenced by whether the line pressure is building or losing pressure.
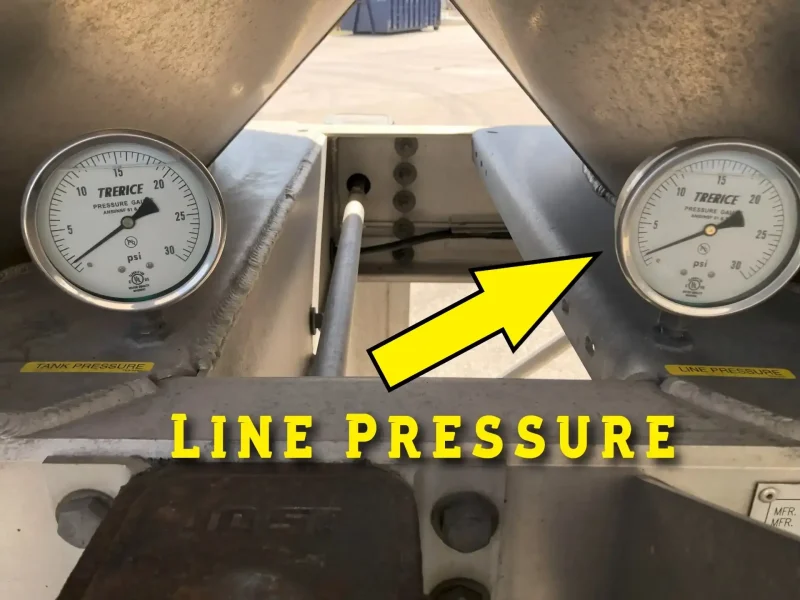
Line Pressure Gauge
The line pressure gauge displays the pressure within the product line, which can fluctuate during the unloading process. Ideally, it should remain within 1-5 psi of the tank pressure to ensure efficient and consistent product flow.
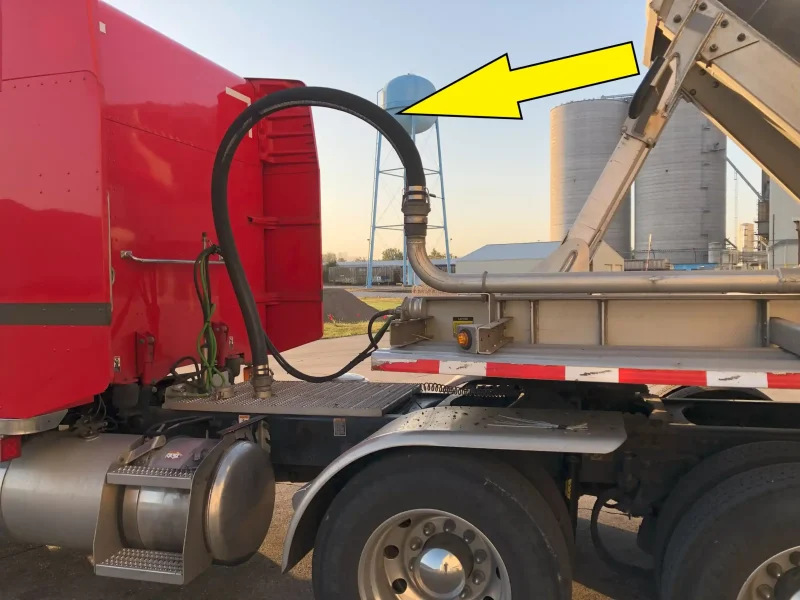
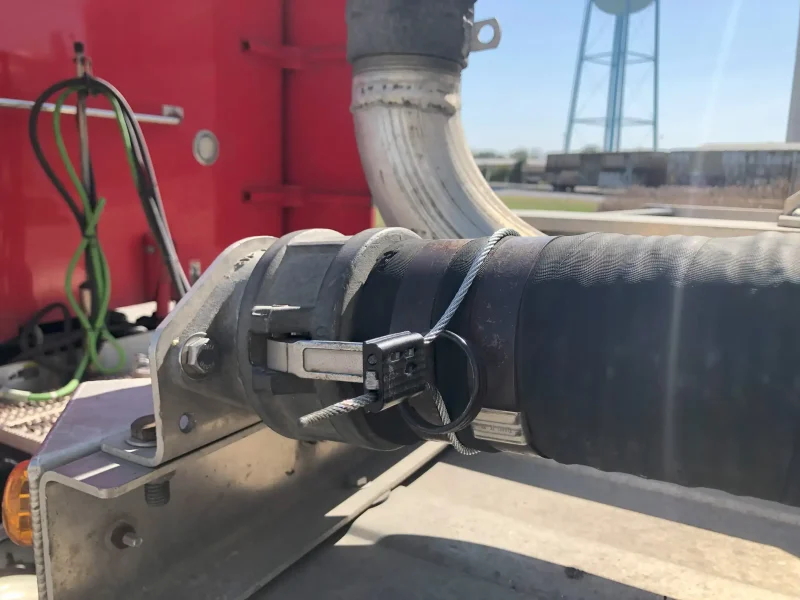
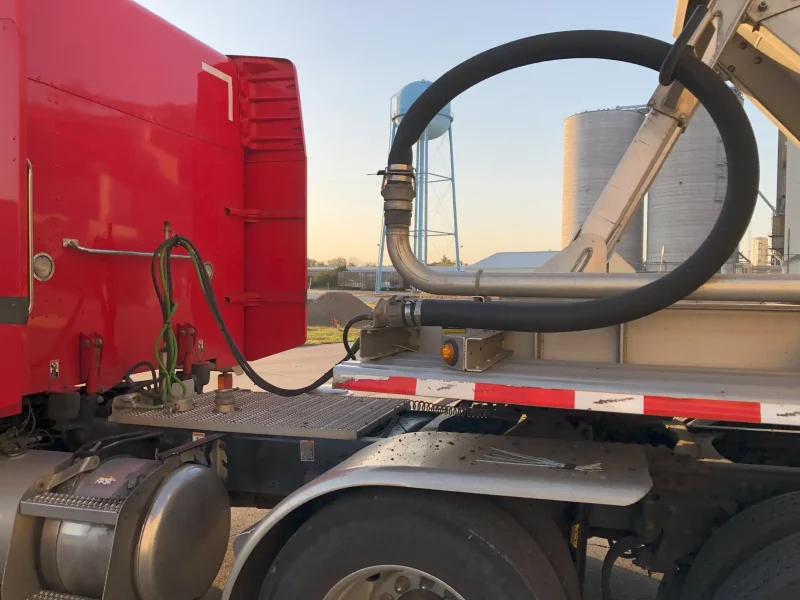
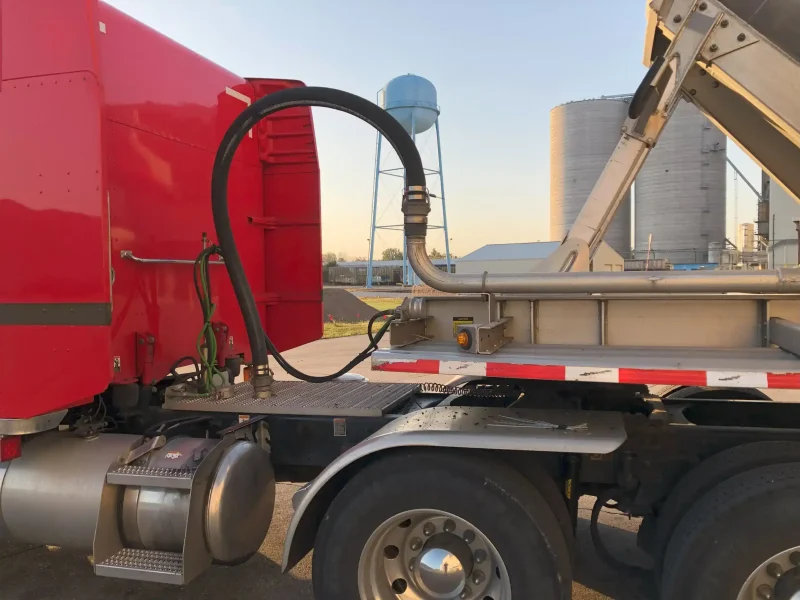
Hot Hose
The hot hose connects the blower on the truck to the trailer. The reason it’s called the hot hose is the air that comes off the blower is hot.
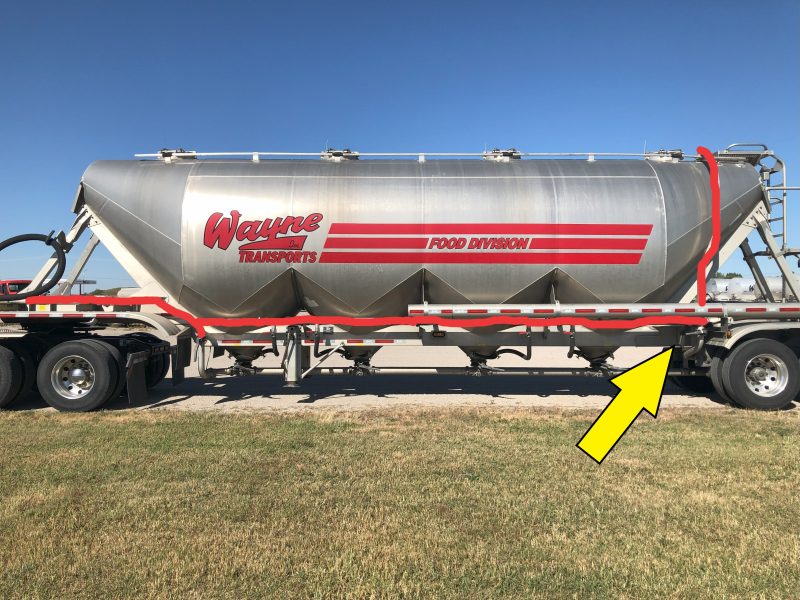
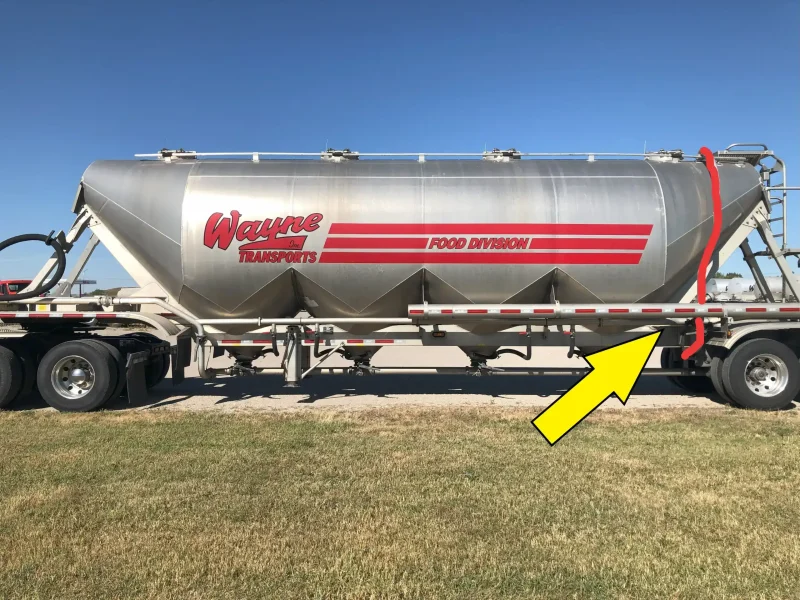
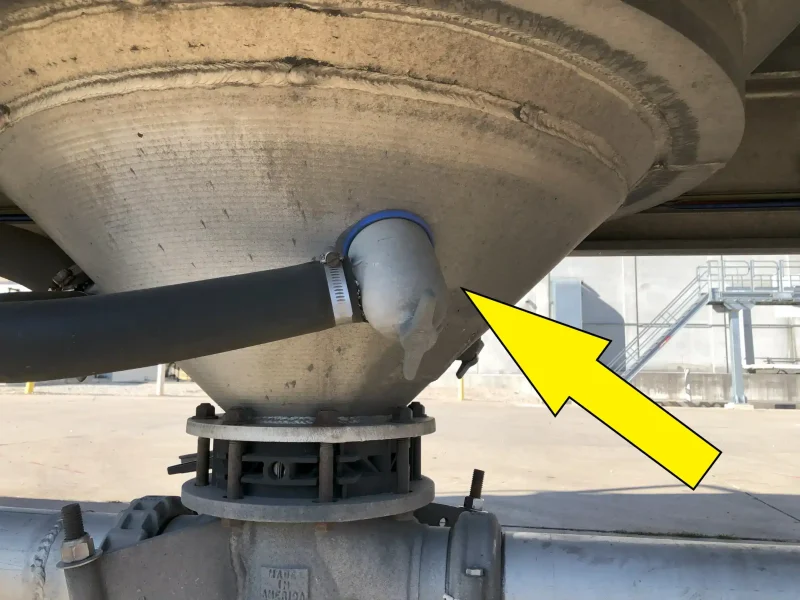
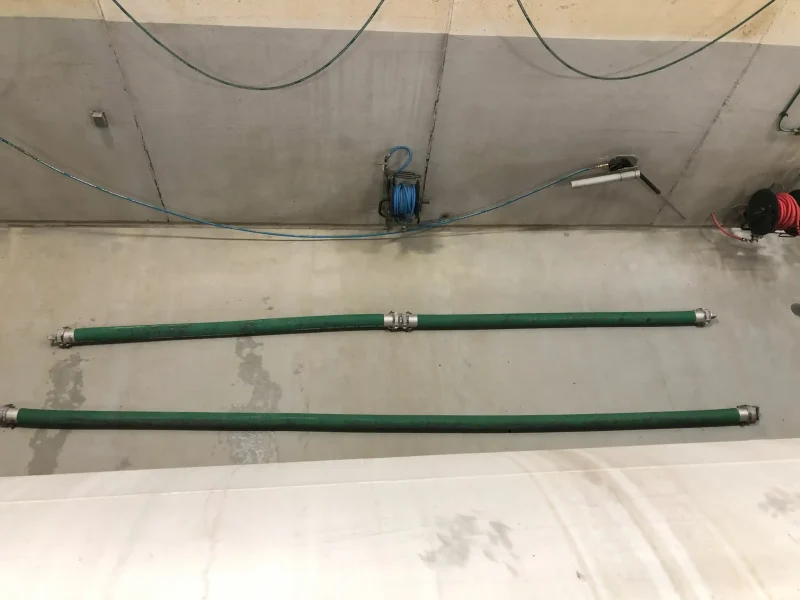
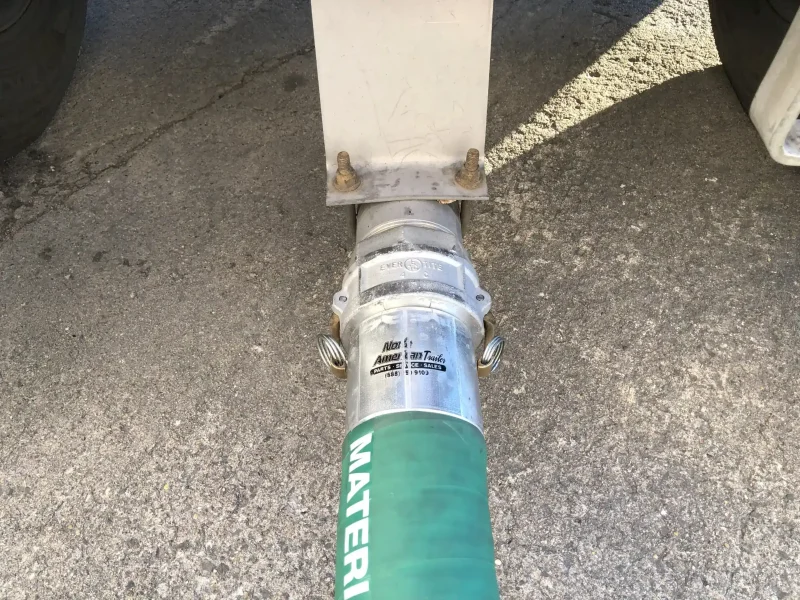
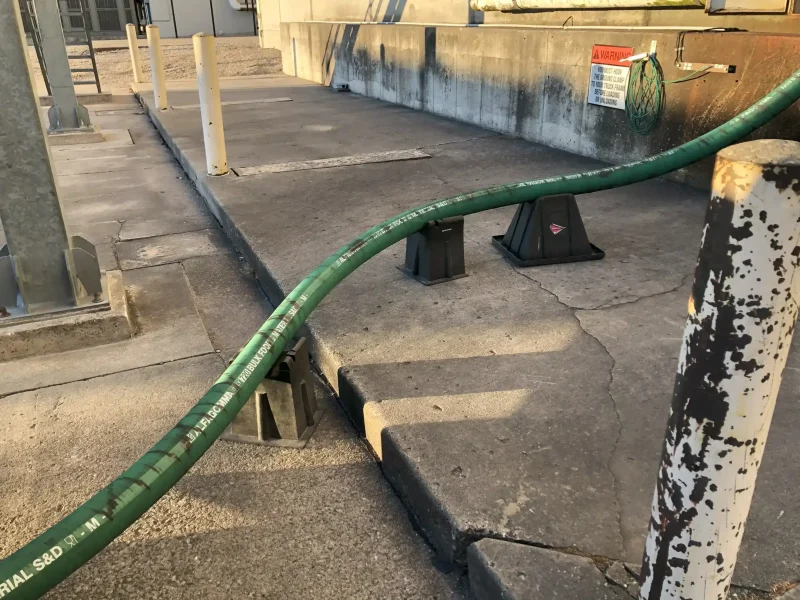
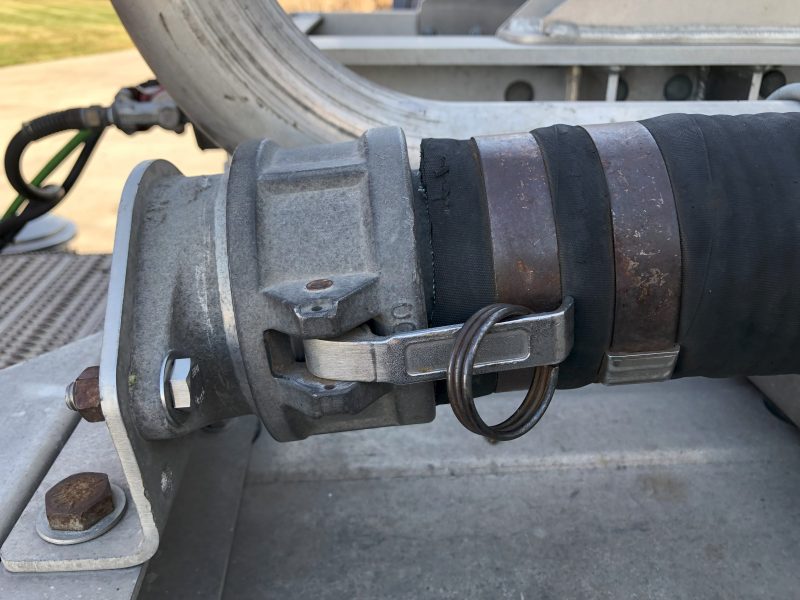
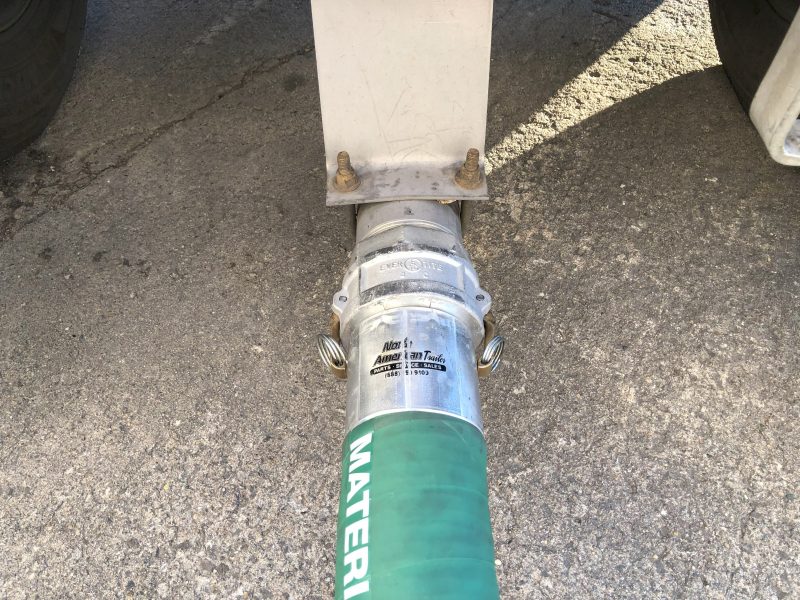
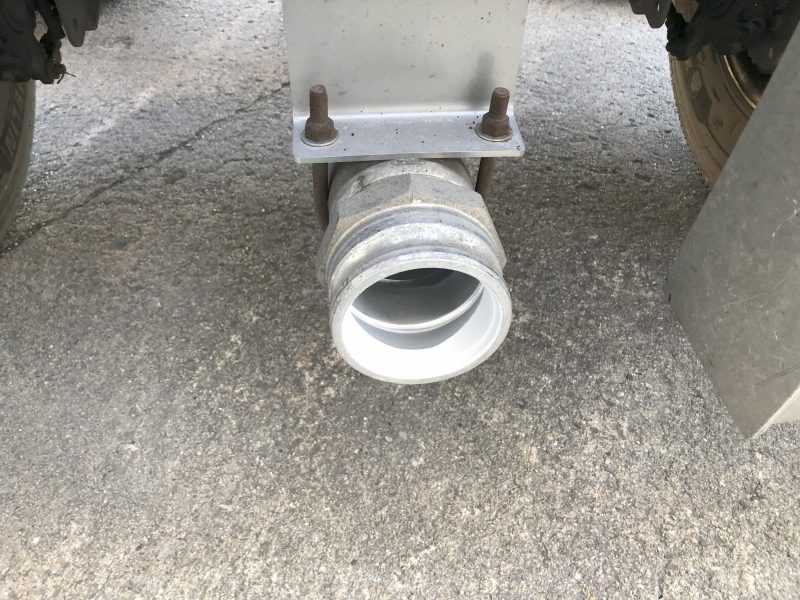
Product Hose
The product hose connects the trailer to the storage silo. The pneumatic trailer I use has 3 hoses, 1 20-foot hose, and 2 10-foot hoses.
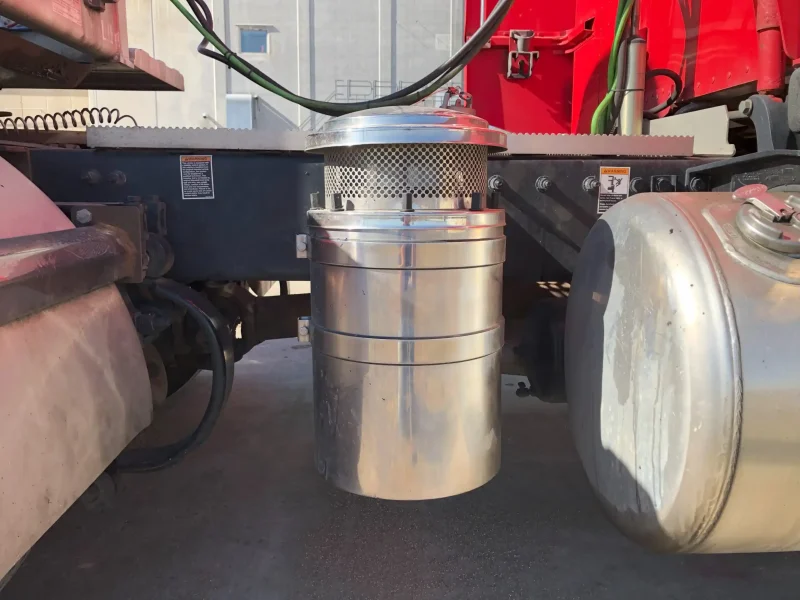
Blower
The blower supplies pressurized air to the trailer, similar to an air compressor motor. It’s powered by the truck’s PTO, and it has a large air filter that cleans the air before it goes through the system.
Pressure Relief Valve
The pressure relief valve prevents the air pressure from getting too high, which can lead to issues like broken pipes or trailer damage. depending on the valve on the trailer they release air at 15 to 18 psi.
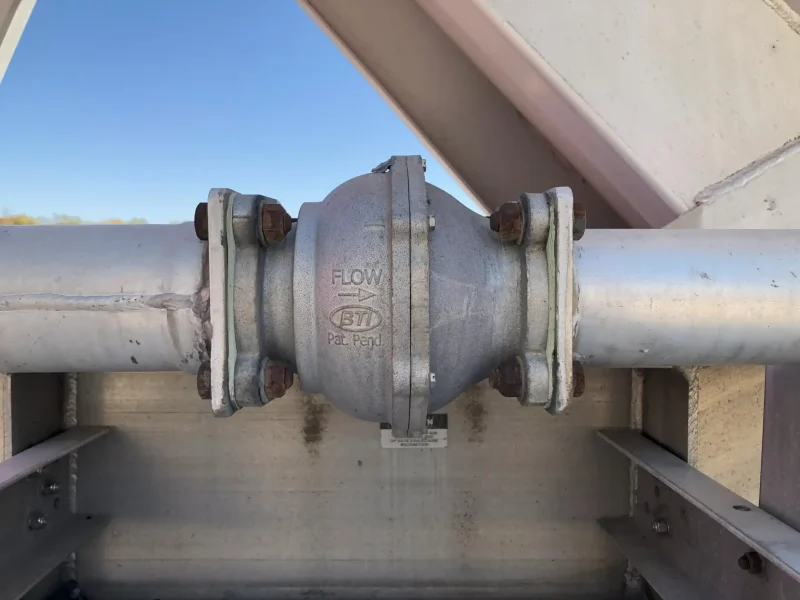
Check Valve
The check valve allows the air to flow in one direction. Preventing the air from going back up through the blower.
Tool list for a Pneumatic Trailer
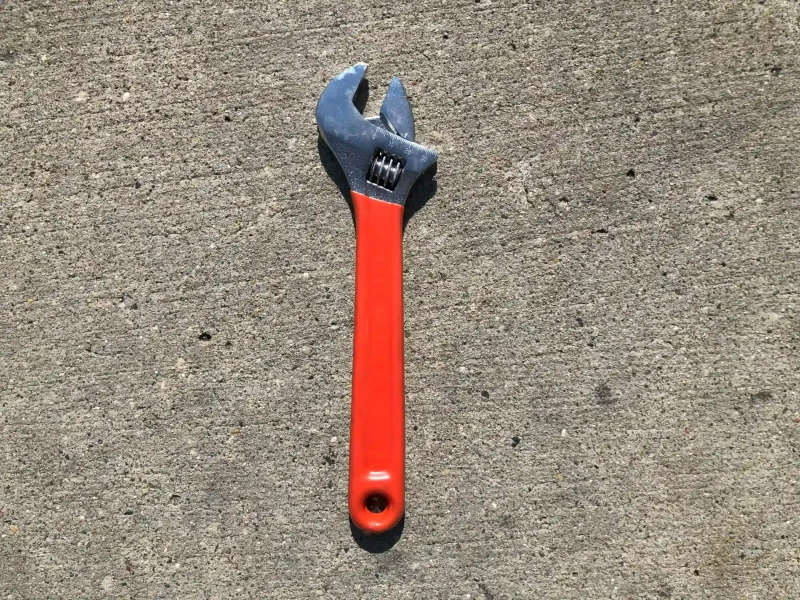
Adjustable Wrench
An adjustable wrench is a useful tool for pneumatic trailers. Some trailers have a nut and bolt that hold a cover that allows the product to be dumped without pressure; like a grain trailer. If the bolt isn’t tight the pressure will seep out of the cover’s seams and the product will come out. If you are looking for one get it here
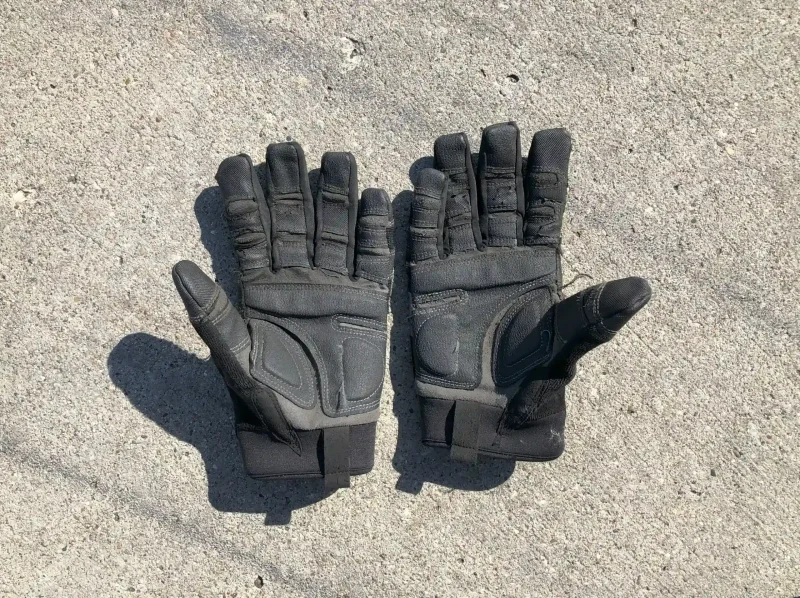
Good Pair of Gloves
A good pair of gloves is a useful tool for any trucker. They are even more useful When used with pneumatic trailers. The hot air blowing from your truck for hours on end makes the fittings hot to the touch. The fitting gets hot enough that it will burn your skin. Another benefit of wearing gloves are to prevent your hands from calluses using the hammer and keep your hands from getting dirty. You can get a pair here.
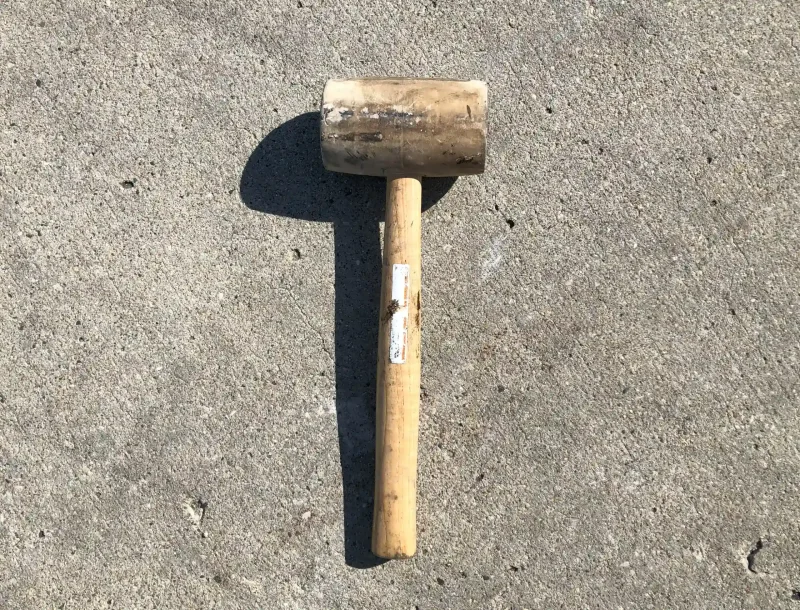
Rubber Mallet
Rubber mallets are used to hit the sides of the trailer to knock any product that sticks on the sides of the trailer. Companies prefer drivers to use a rubber mallet so it doesn’t leave marks on the sides of the trailers as dead blow hammers do. If you need a hammer get it here
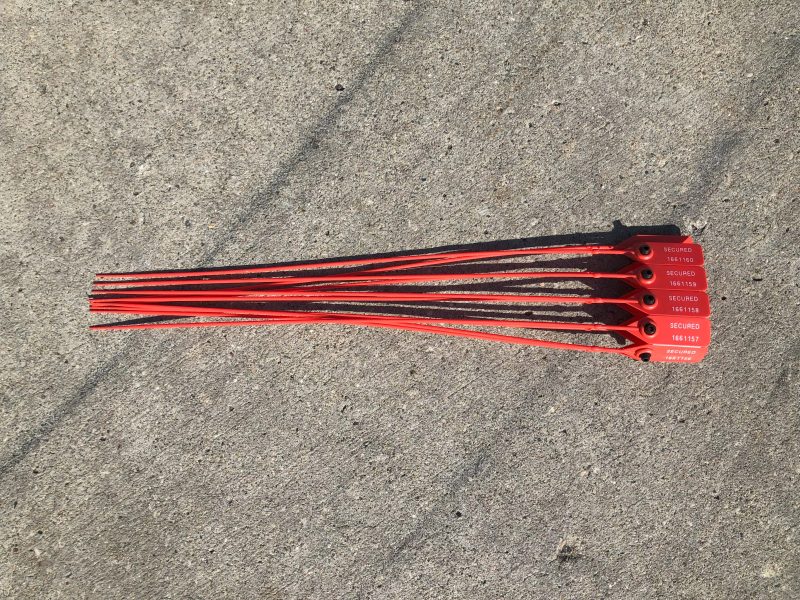
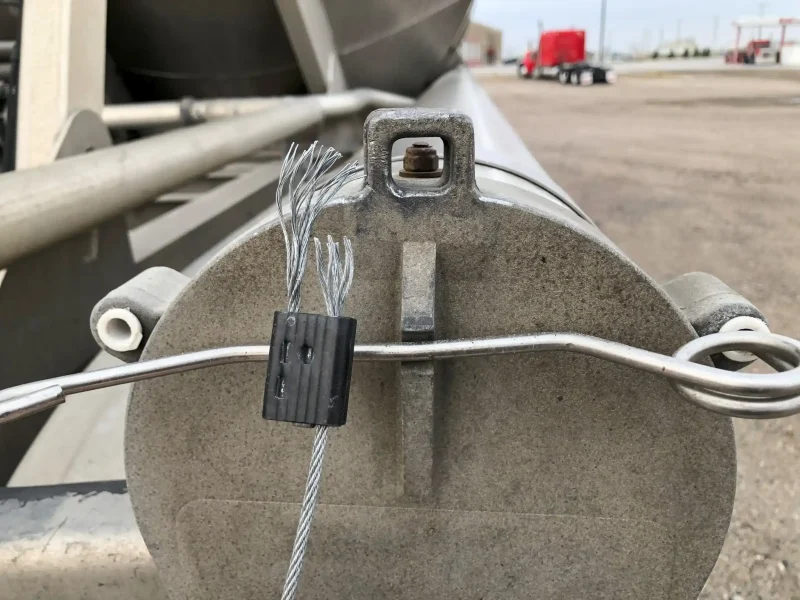
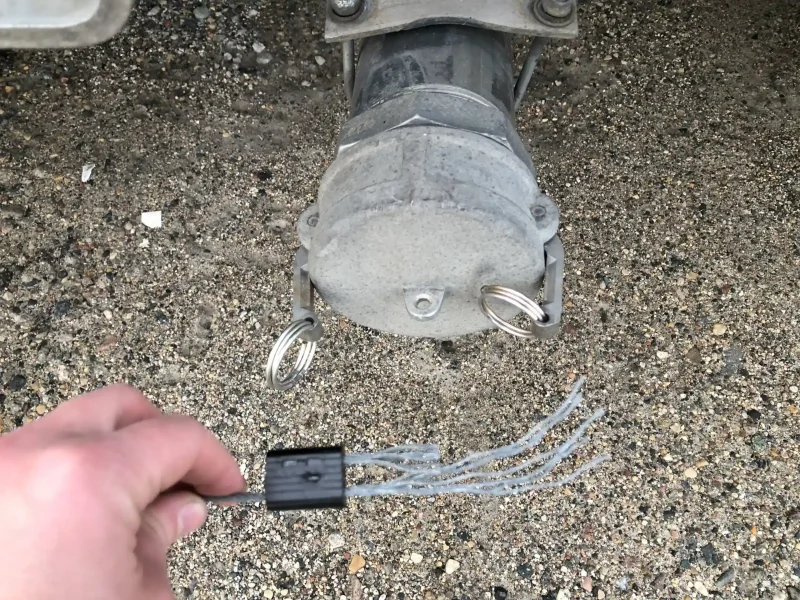
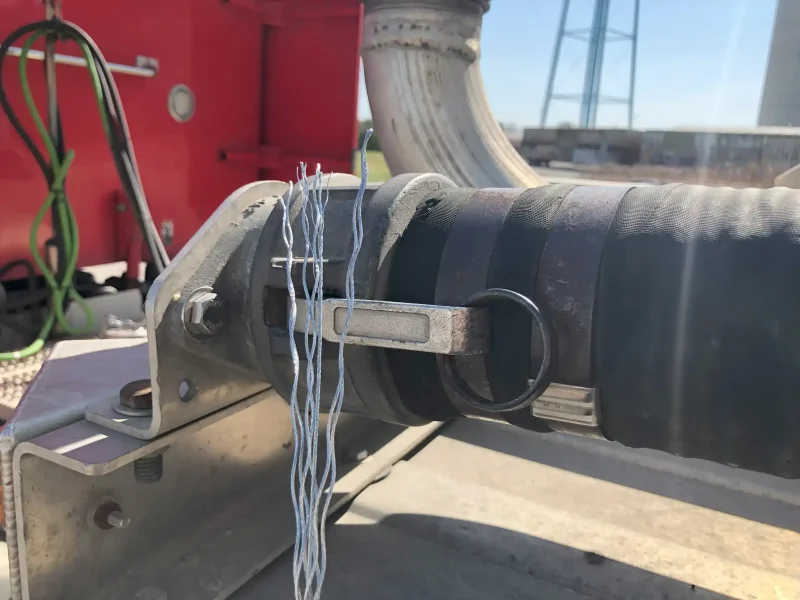
Seal Cutter
Seal cutters are used to cut seals on the trailer. especially good for cutting metal braided ones put on by a manufacturer. you can get a pair here
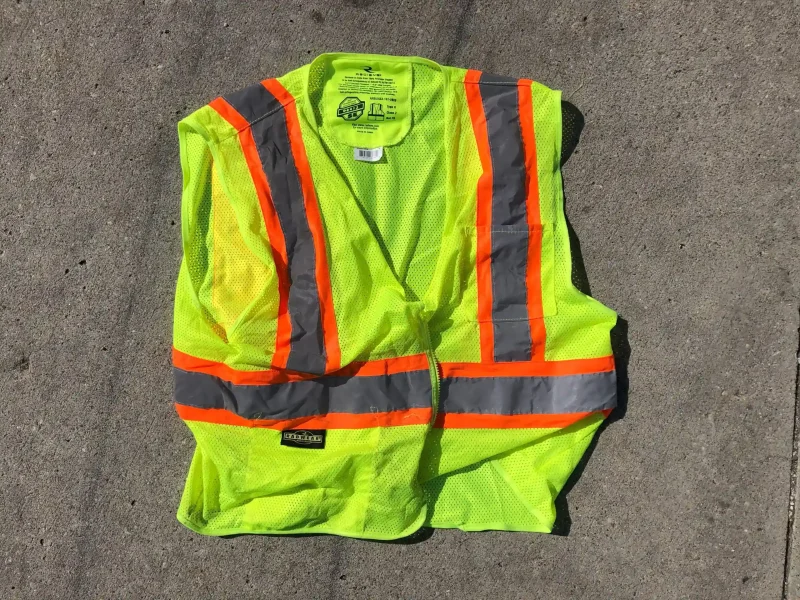
High Vis Vest
High-vis vests are not required at all facilities but the big manufacturers require everyone outside their facility to wear them. It helps for people to see you on the outside. you can get one here
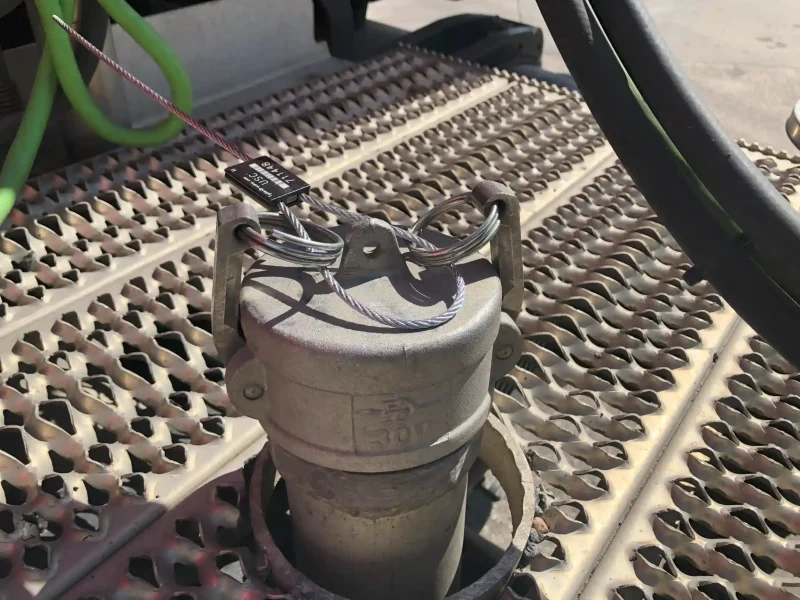
New Seals
New seals must be put on all entry points on food-grade pneumatic trailers. This prevents any possible contamination in the trailer during transit.
How did I come to find my 5-step method?
Early in my dry bulk career, I had the privilege of being trained by a couple of veteran drivers, with over a decade of experience. They both had a distinct method for unloading a pneumatic trailer. One preferred leaving the top air (tank valve) open while adjusting the product valve to maintain steady pressure. The other chose to keep the top air (tank valve) closed to allow more product in the system.
Curious to find what worked best, I experimented with both techniques over the following weeks. First, I tried the open-top air method. I quickly realized it had a higher risk of clogging and required constant attention to make sure the pressure didn’t build unexpectedly. Frustrated by the frequent adjustments, I decided to try the closed-top air method the next week. While it took some practice to iron out, this approach felt much smoother. The pressures remained consistent, and I could move more product through the tube with less fuss.
Now, let me walk you through the process I developed based on what I learned.
My 5-step Process to Unload a Pneumatic Trailer With Pictures
After testing various unloading methods, this approach has proven the most reliable for me and minimizes issues. Here’s the process:
warm up the blower– start by turning on the truck blower to allow it to warm up. This step helps evaporate any moisture in the blower.
Connect the trailer– once the blower is warming up, hook the trailer up to the receiving tank.
Pressurize the system– next connect the trailer to the blower and pressurize the system.
Unload the trailer – empty the trailer in the following order: second hopper, first hopper, third hopper, then fourth hopper. this sequence provides flexibility in case any issues arise during unloading.
Final clean out- this step makes sure all of the product is out of the trailer so you are ready to fill the trailer again.
This method keeps the unloading process smooth and gives you control if something unexpected happens. Next, we’ll go over each step in more detail.
Step 1: Turning On The Blower
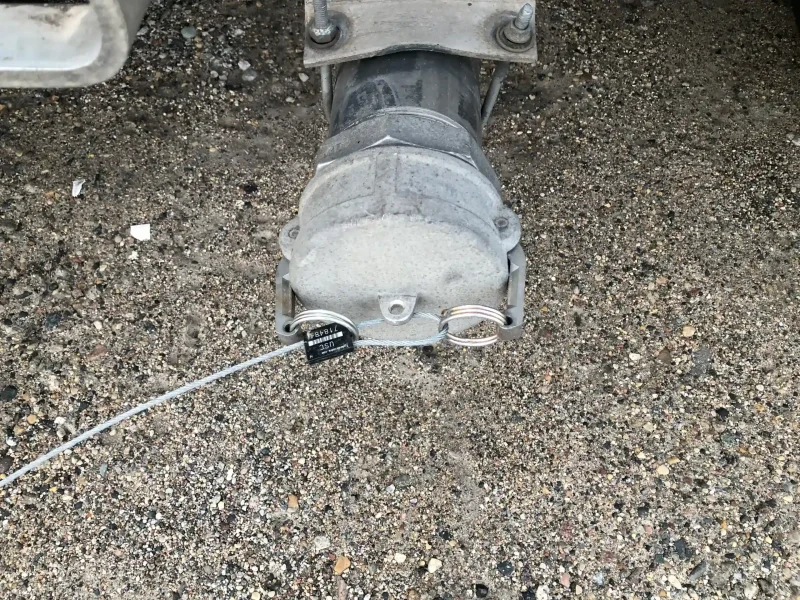
Cut Seal Off Blower Cap
Take The Cap Off Blower
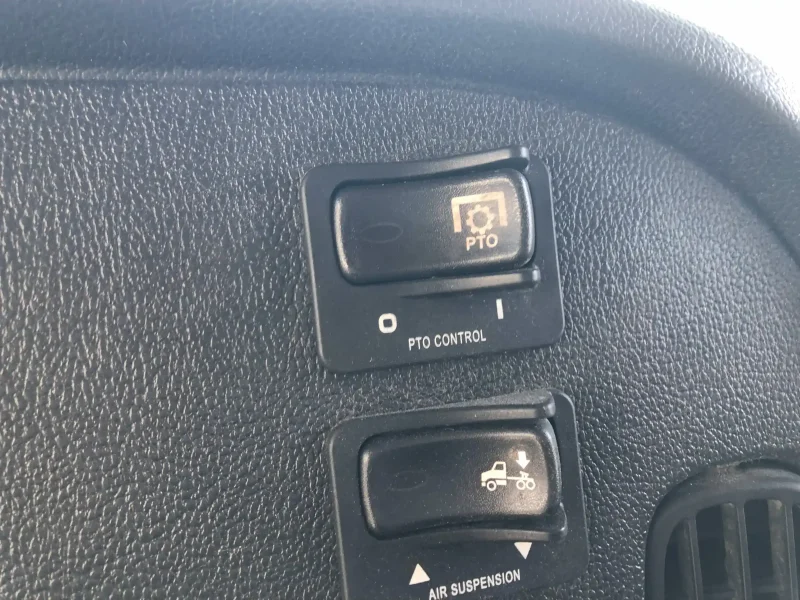
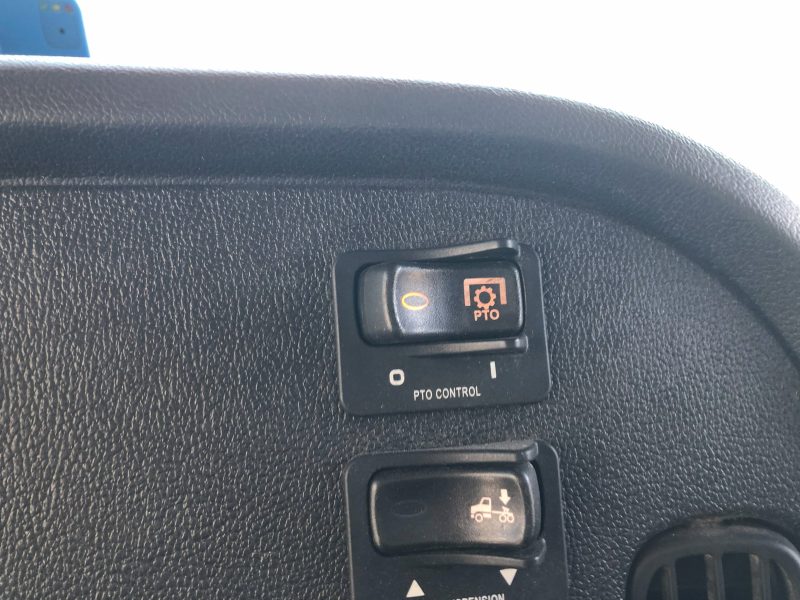
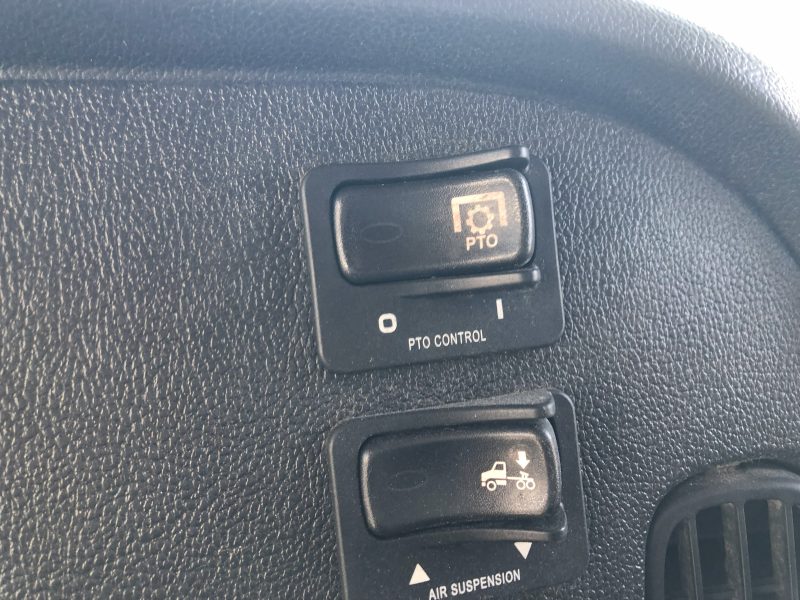
Push Clutch in to Enable PTO
Turn On The Truck Fan
(This Prevents The Fan Clutch From Waring Out)
Put The Trucks RPM’S At 1000
By putting these settings on the truck it turns on the blower. It’s good to let the blower warm up before hooking the trailer because it evaporates any moister in the blower.
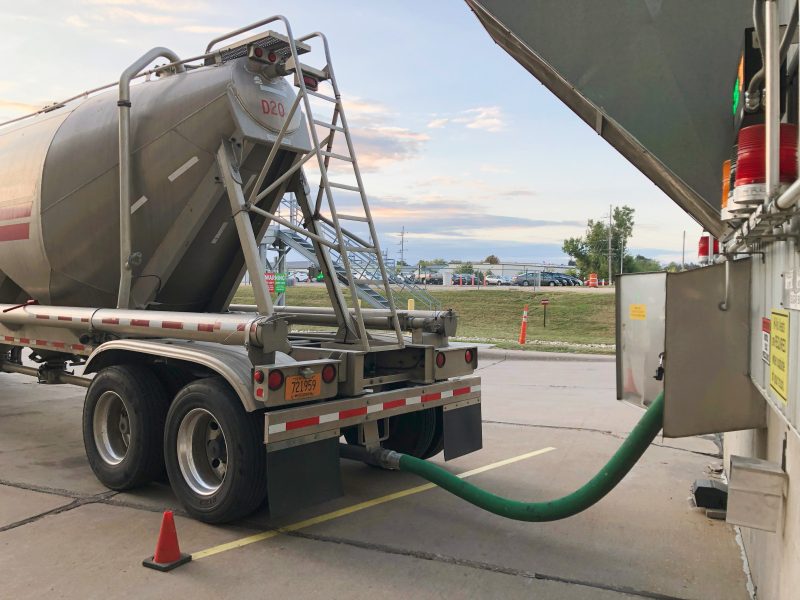
Step 2: Hooking Up The Trailer
Back of Trailer
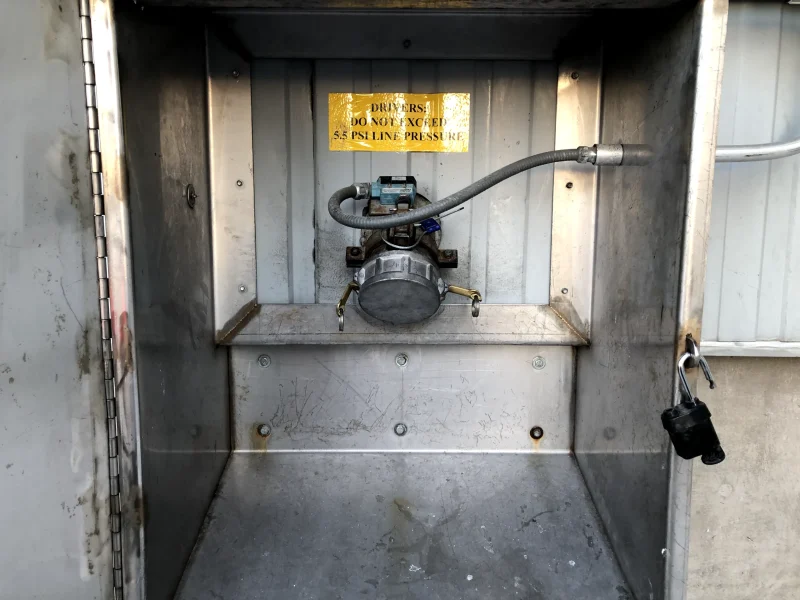
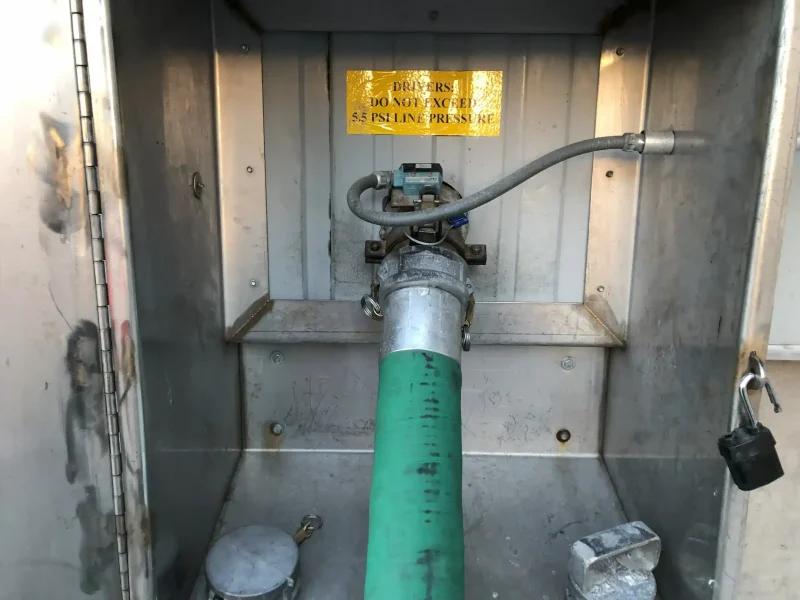
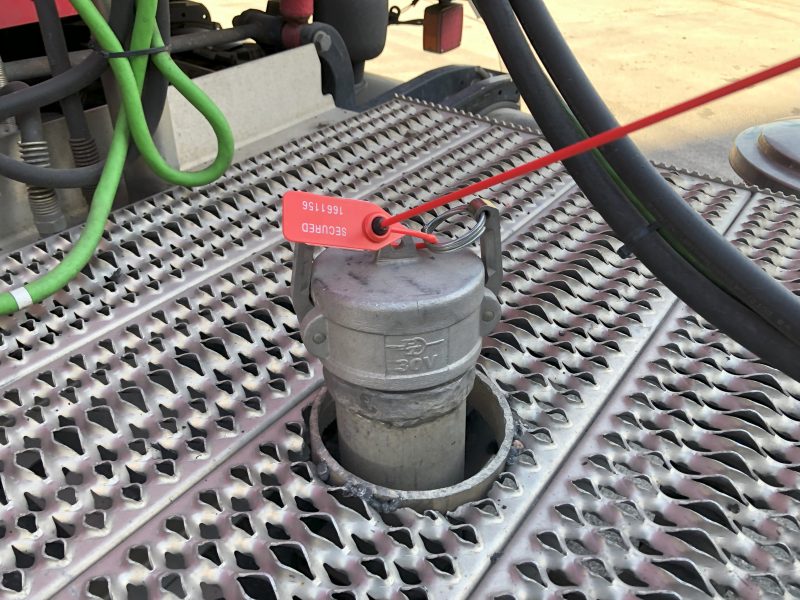
Cut Seal Off Hose Compartment.
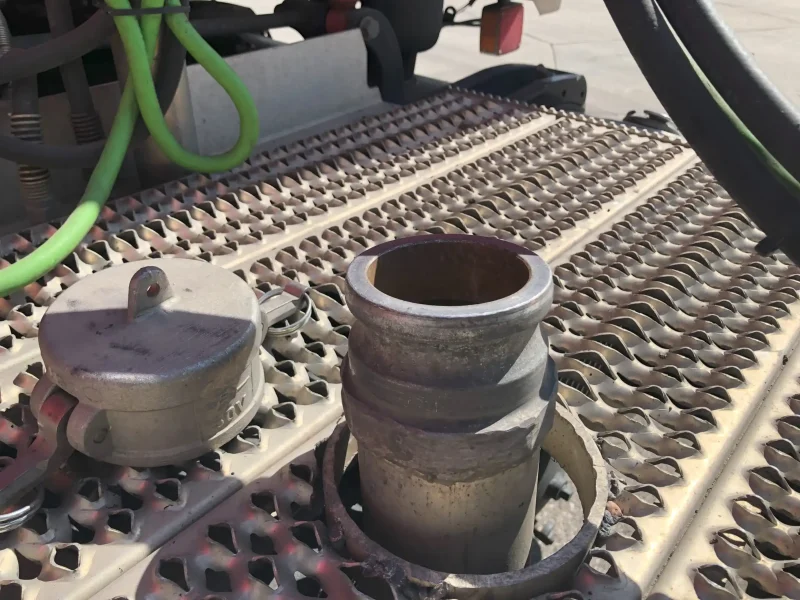
Take Hose Out
Connect The Hose To The Customers End
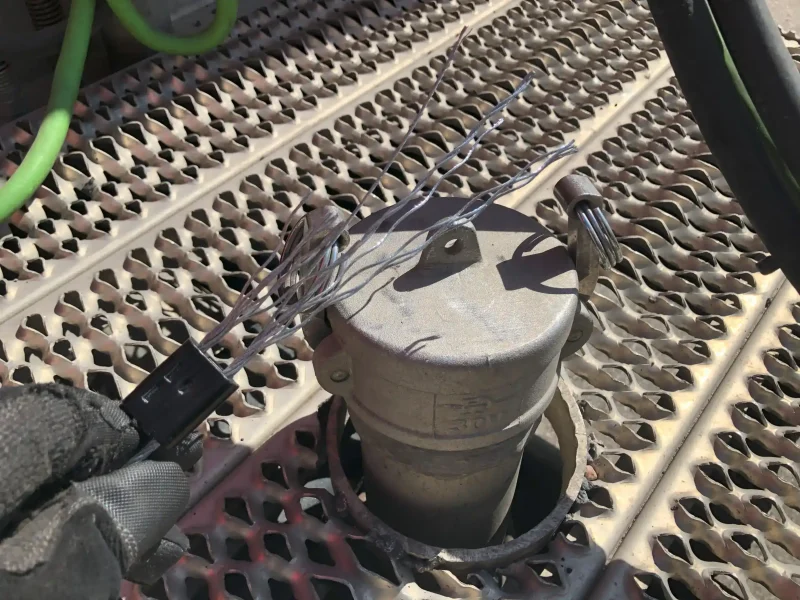
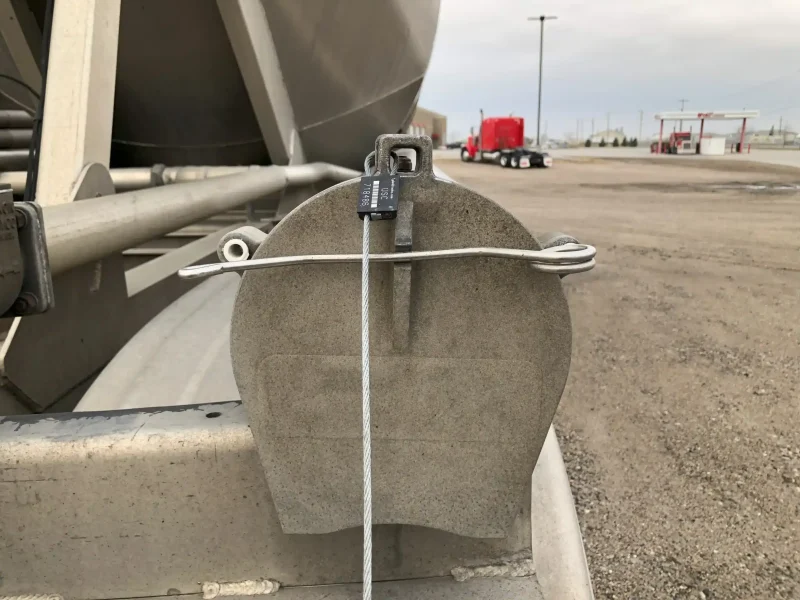
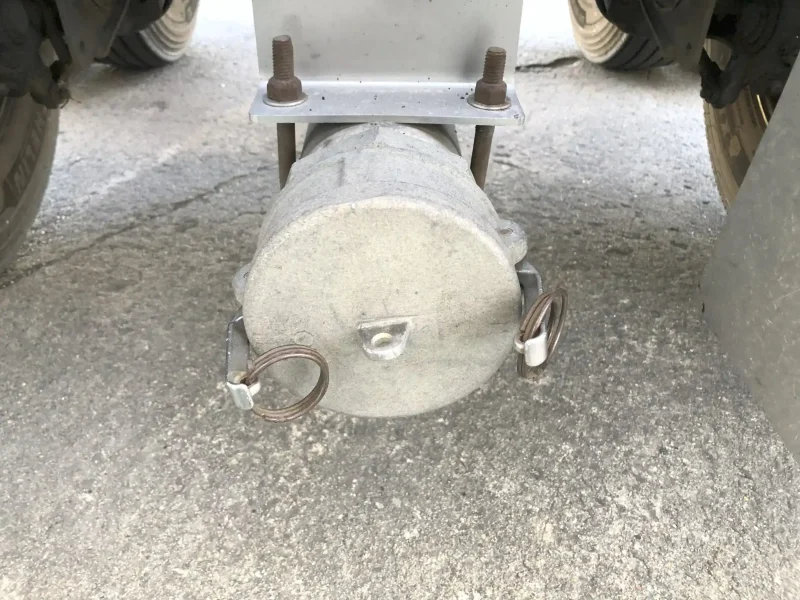
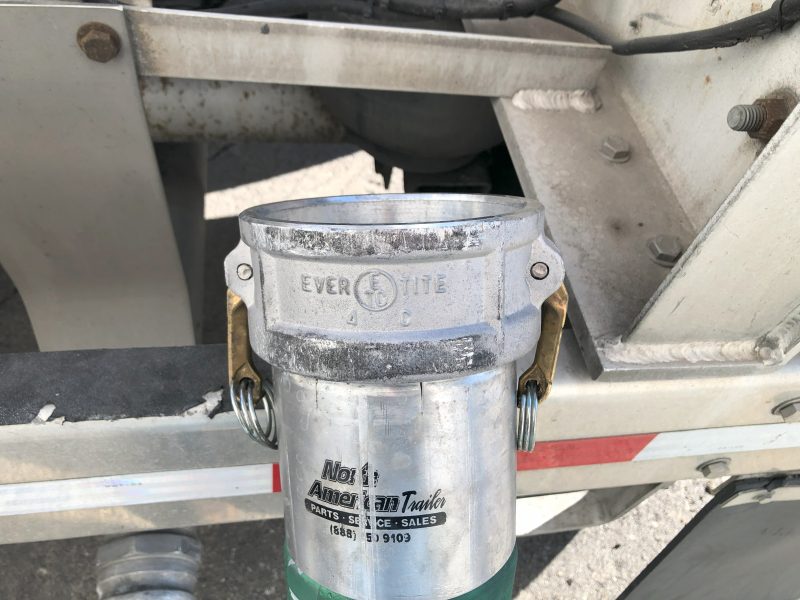
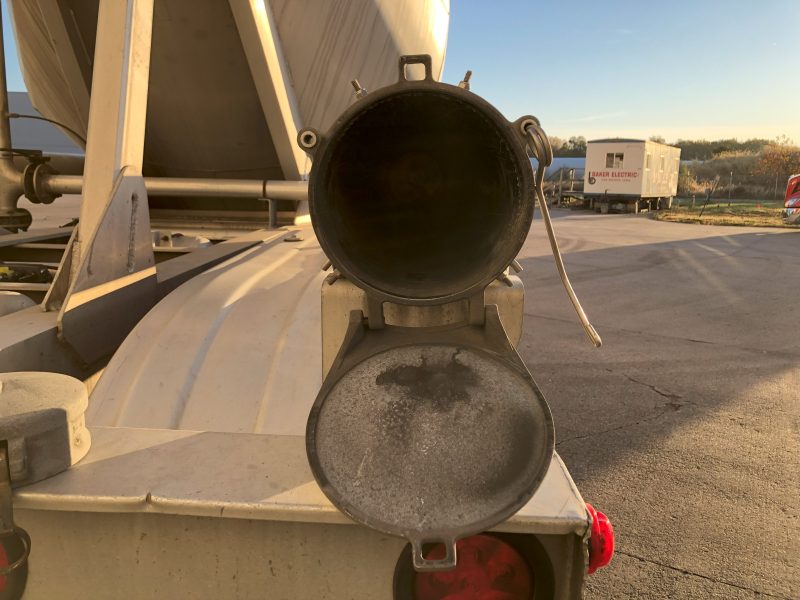
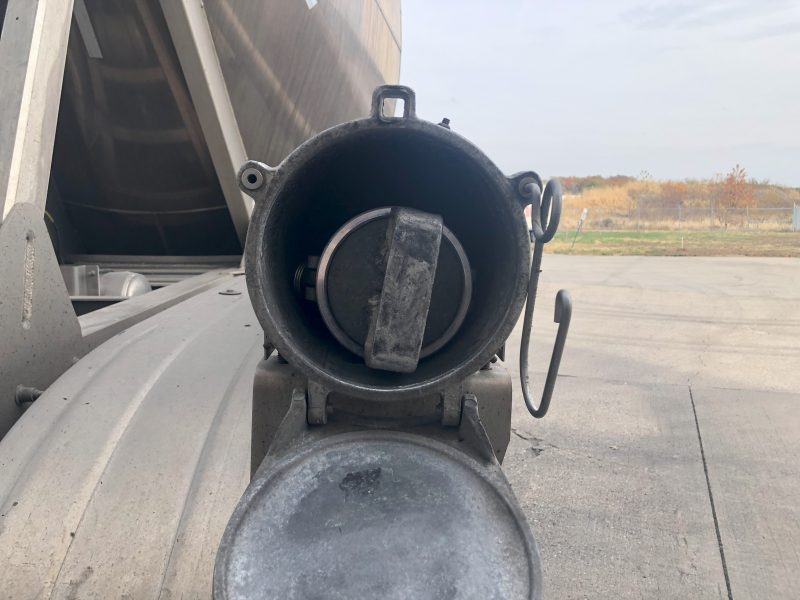
Cut Seal Off Trailer Cap
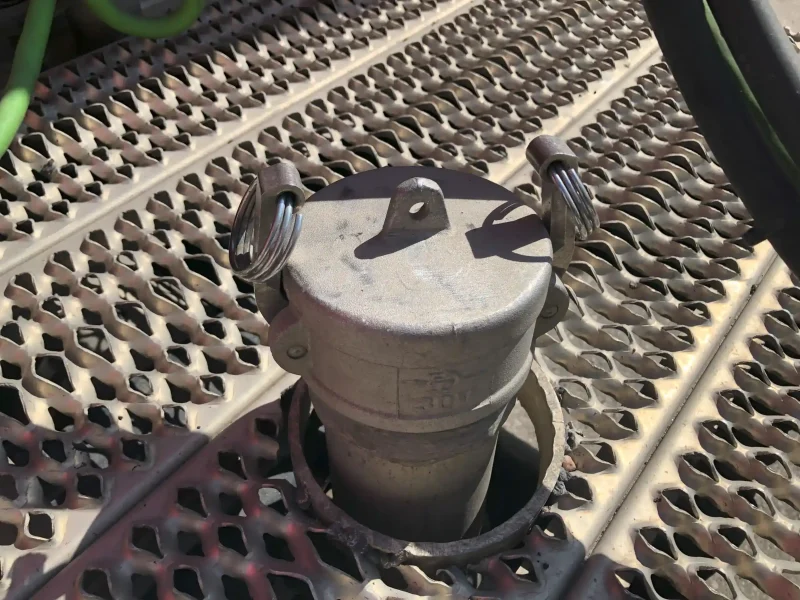
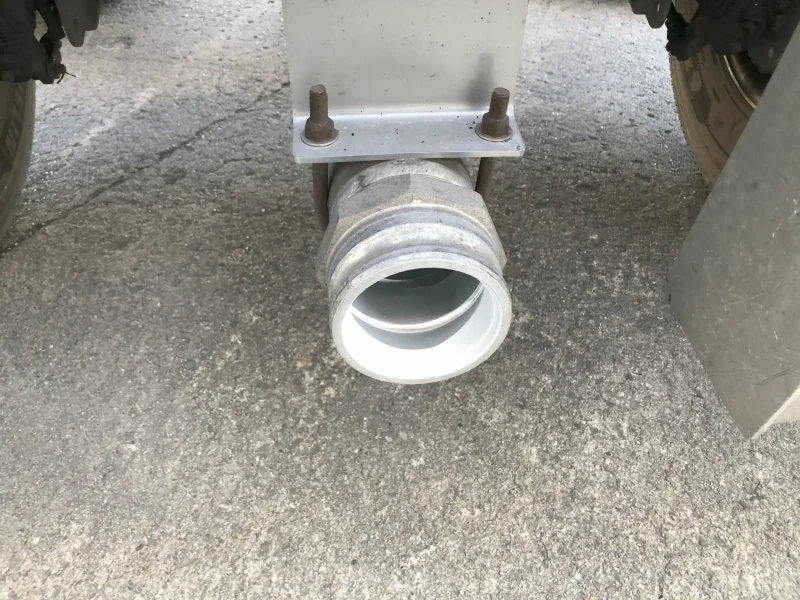
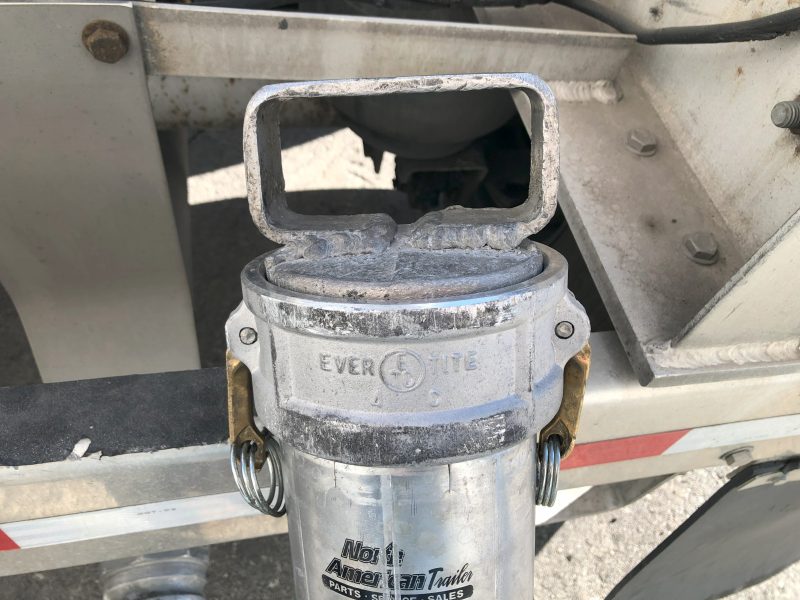
Take Trailer Cap Off
Connect Hose To Trailer
Use Hose Supports To Prop Up Hose If Available
Front of Trailer
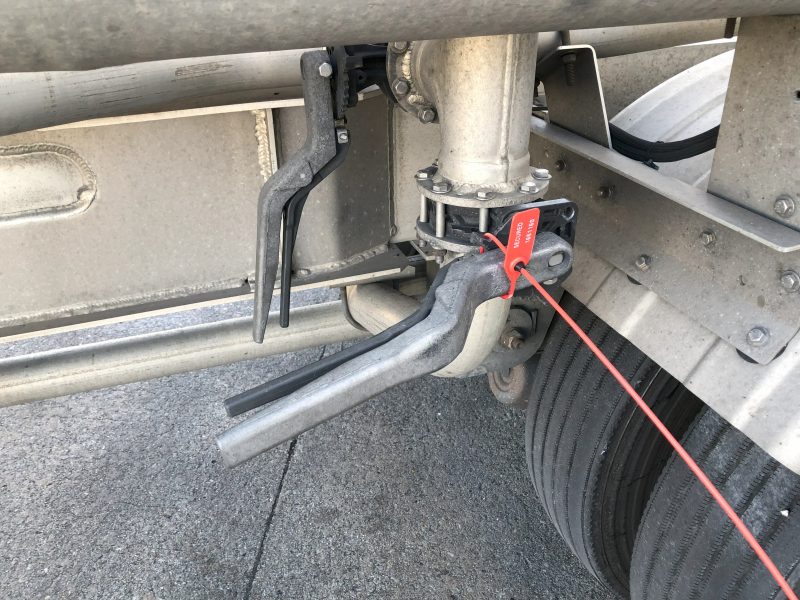
Open The Line Pressure Valve if its Not Already Open.
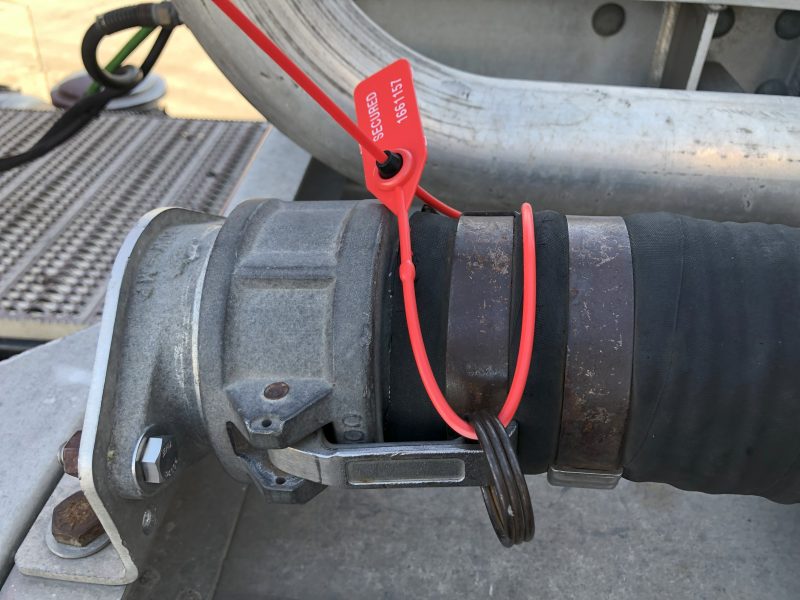
Cut the seal off of the hot hose
Connect The Hot Hose To The Blower
Now that the trailer is all hooked up and the blower is on the air flow of the trailer should look like this.
Step 3: Pressurizing The System
Open The Tank Pressure Valve
Close The Line Pressure Valve
Having the tank pressure valve open and the line pressure valve closed pressurizes the tank here is how the air will flow into the trailer
The pressure in the tank should go up. Wait until the gauge reaches the desired air pressure (usually 5-10 PSI)
Open the line pressure valve
Close The Top Air Valve
By opening the line pressure valve and closing the tank pressure valve the air flow should return to this.
Step 4: Unloading The Hoppers
My Method of Unloading the Hopers on a Pneumatic Trailer
When I first learned how to unload a pneumatic trailer, my trainers instructed me to follow a specific hopper order: start with the second hopper, then move to the first, and finish with the two rear hoppers. At the time, I didn’t fully understand why this sequence mattered, so I decided to experiment. I tried going from front to back, thinking it might speed things up a bit. While it did seem faster initially, I quickly learned the hard way that this method made it harder to unclog the system if a blockage occurred.
Now, let me walk you through the unloading order that they taught me.
Hopper Order
The order I use for unloading a pneumatic trailer is as follows:
Second hopper
First hopper
Third hopper
Fourth hopper
I follow this order because it minimizes risk and allows me to handle any issues safely and efficiently. Starting with the second hopper ensures that, in the event of a clog, I still have the option to perform a reverse vacuum to clear the obstruction. starting with the first hopper wouldn’t give me that option. On the other hand, if I unloaded the back two hoppers first that would place all the pressure on the truck, making it difficult to quickly disconnect the trailer in case of an emergency.
Below, you’ll find a diagram illustrating the product flow during the unloading process.
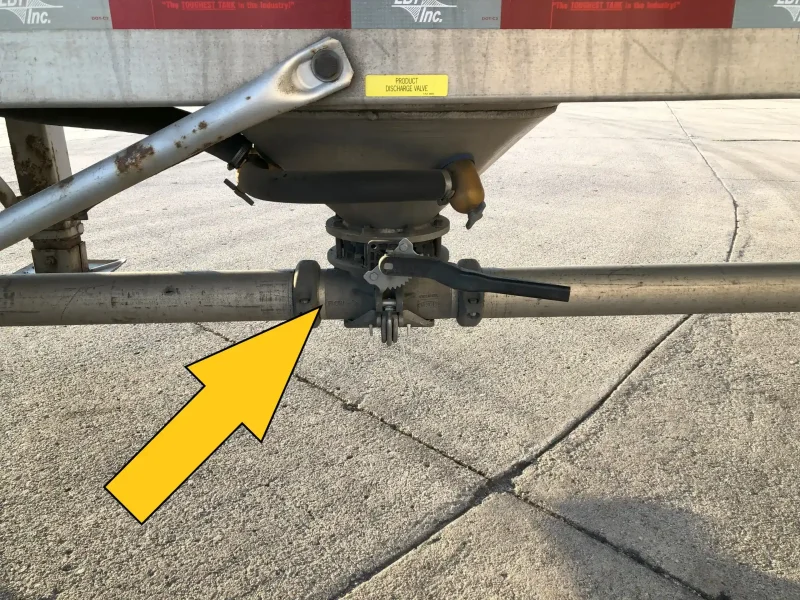
Now that we know the order to unload we can start with the second hopper. Slowly crack the product valve open until it is halfway open. Opening the product valve slowly prevents too much product from flowing into the pipes preventing a clog.
Once the product valve is open halve way check that the line pressure gauge is close to the tank pressure gauge. (around 1-4 PSI)
Go to the back of the trailer and check the hose. The product flow should feel smooth, almost like liquid. If the pressures are stable at this point, you can fully open the product valve.
Once the line pressure remains steady, wait for the hopper to empty. You’ll hear a distinct sound—somewhere between a tuba and a French horn—as the pressure begins to drop.
Repeat steps 3-4 for each remaining hopper.
Unloading Tips
How long does it take to unload the trailer?
The unloading speed of the trailer has a variety of different factors. the temperature outside, how clean the pipes going to the tank are, how much pressure the pipes can handle, etc. The most common time for unloading pneumatic trailers is 1.5 to 3 hours.
How do I deal with a pulsing flow?
When unloading a pneumatic trailer the flow of product can pulse while unloading. This can lead to pressure building too high and can lead to clogging pipes. one way to check this is to feel the back hose. Another way to check if the product is pulsing through the pipes is the line pressure gauge. the gauge will jump up repeatedly 5-10 psi. the way to make the flow of the product more smoothly is to lower how much product is going through the pipe. close the product valve a couple of notches. this should lower the amount of product flowing through and make the flow smoother.
How do you tell the system is clogging?
to tell that the system is clogged if the line pressure spikes as high as it can go. Another way to tell the pipes are clogging is the trailer will change its pitch.
How do I Unclog the System?
To unclog the pipes of a pneumatic trailer we have to create a reverse vacuum to suck the product back through the pipes. A way to do this is by releasing the pressure in the tank and keeping the air in the line pressure. Then all you have to do is open and close an empty hopper or an upstream hopper ( closer to the front of the trailer) repeatedly to suck back the product through the line to clear out the line.
here is an easy list of the procedure:
close the product valve
open the blow-down valve until all the tank pressure is gone
open and close an empty product valve or one upstream ( closer to the front of the trailer) of the cogged one fast.
doing this should break up the clog, allowing the product to flow smoothly again.
How do I lower the pressure while unloading?
If your pressure is starting to get too high start by lowering the product valve by 2-3 notches and cracking open the blowdown valve 1-2 notches until you get down to a lower pressure. This releases air pressure in the tank. once it gets back down to the correct air pressure close the blowdown valve and adjust the product valve accordingly.
How do I increase pressure during unloading?
If you can add more pressure to the system during unloading there are a couple of different ways to do it
open the product valve more to allow more product into the system.
crack open the tank pressure valve 1-2 notches to allow pressure to build in the tank.
If the product valve is completely open, open the one upstream 1-2 notches ( be careful with this method adds more product to the system and is more likely to clog.)
How Do You Tell The Hopper Is Empty?
The first way to tell that a hopper is empty is a change in the trailer sound. It will make a sound like a mix of a French horn and a tuba. The next thing to notice is both the line and tank pressures will start to drop. another way to tell is to look at the suspension load gauge on the truck to see when each hopper is getting close to being empty. the final way to check is to go to the back and feel the hose. if there isn’t anything flowing through its empty.
Step 5: Clean Out Stage
Once the fourth hopper is empty we can start the final cleanout to make sure everything is out of the trailer.
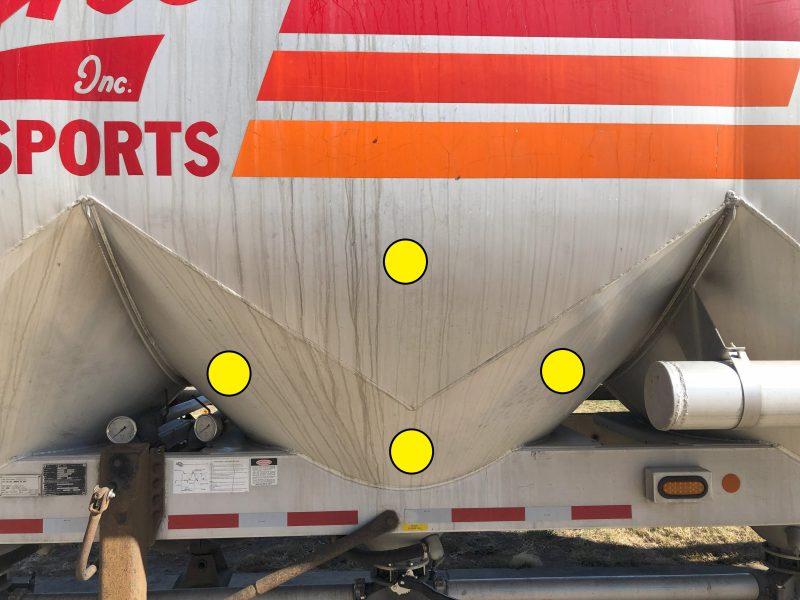
Take a rubber mallet and bang on all the hoppers on the passenger side.
Here are the spots I hit to make sure everything gets out.
(Be careful not to smash your fingers on the air tube that goes to the aerators)
Close the tank pressure valve if it’s not already closed.
Open all the aerator valves. There should be four of them.
Close the line pressure valve
The airflow in the system should start the aerators once the line and tank valves are closed. Here is a diagram of how the air flows
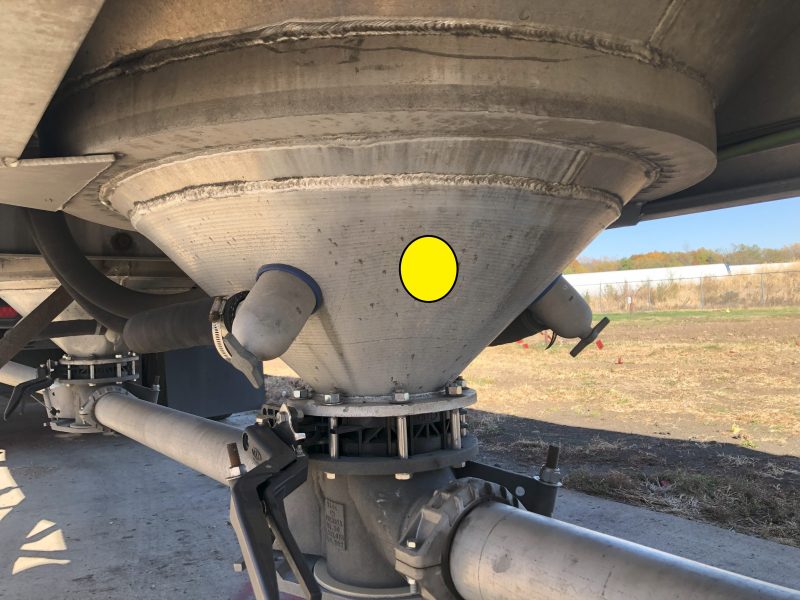
After the aerators are on hit the driver’s side hoppers with a rubber mallet. This is to make sure everything comes out. here is where I usually hit them.
The aerators pressurize the tank when they are turned on so wait until the tank pressure is back to operating range.
Once you built up tank pressure open the line pressure valve
Close the aerator valves
Once the tank has built up pressure go back to each hopper to empty the remaining product. I usually go front to back since there isn’t much left in the hoppers. If there is any left in the hoppers it’s usually in the middle two hoppers. The way to tell they are empty is if the pressure starts to drop and the hoppers make a unique horn sound.
Step 6: Putting Things Away
Push the clutch/ brakes to lower the trucks rpms
Unhook the hot hose from the blower.
(wear gloves for this part because at this point the blower has been on for hours heating the fittings and making them hot enough to burn skin)
Put a new seal on the hot hose
open blowdown valve
Disconnect from where you are blowing the product to
Put cap back on hose
Unhook hose from trailer
Put cap back on hose
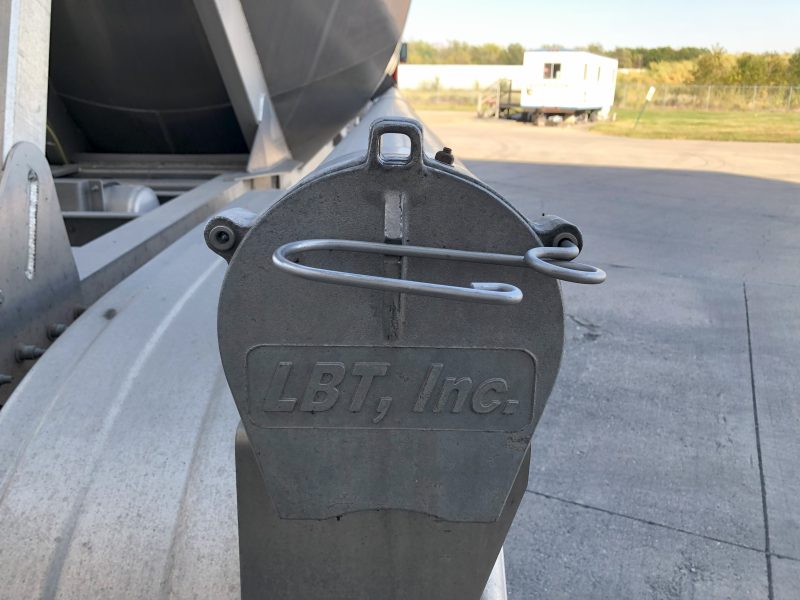
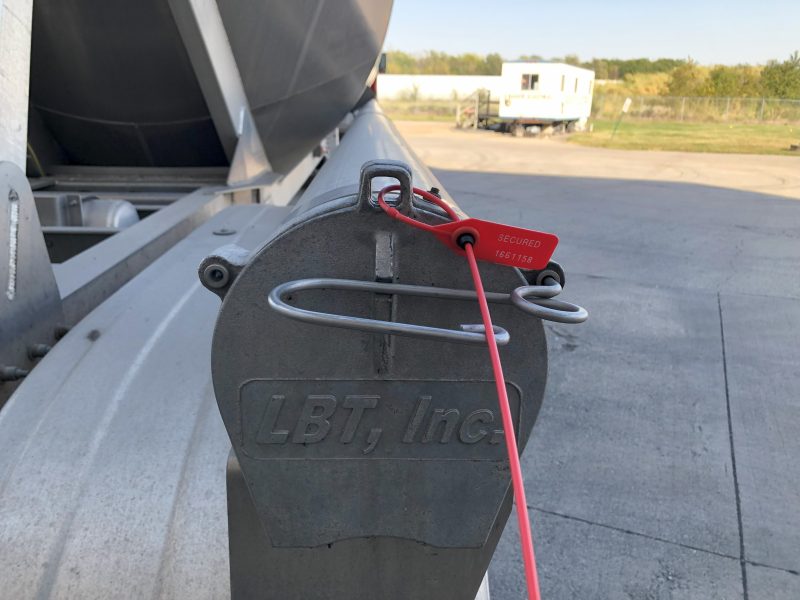
Put the cap back on trailer
Put a new seal on trailer cap
Put hose back in the holder
Put a new seal on hose compartment
Close blowdown valve
Put new seal on blowdown valve
Push clutch in and turn off pto
Put the cap back on the blower
Put a seal on the blower cap
Conclusion
Unloading pneumatic trailers takes time to understand with all the little adjustments. Following how I do it will put you in the right direction. To recap what I do is I start by turning on the blower to allow it to warm up. then I connect the trailer to the tank I’m blowing product into. next, i hook the truck up to the trailer and pressurize the system. Finally, I started to unload. I am far from an expert at doing this but i wished I had something like this I could look at my phone when I was starting.
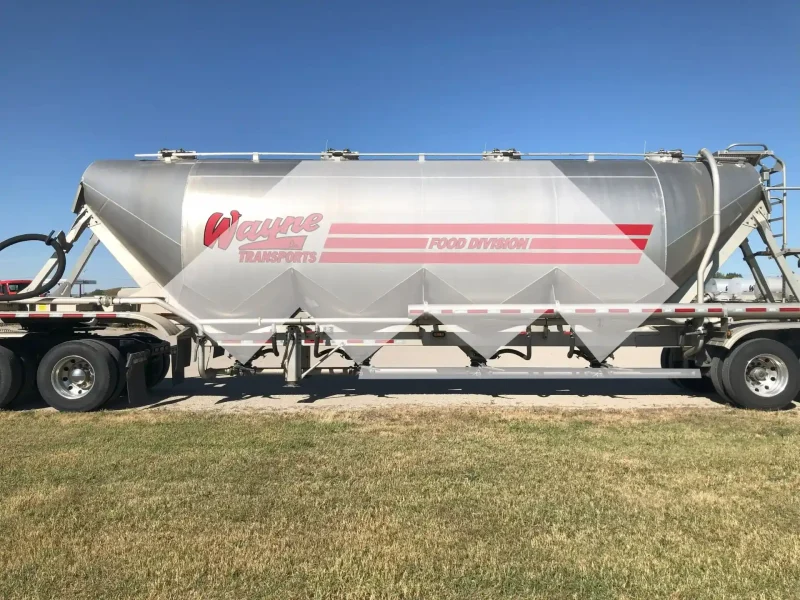
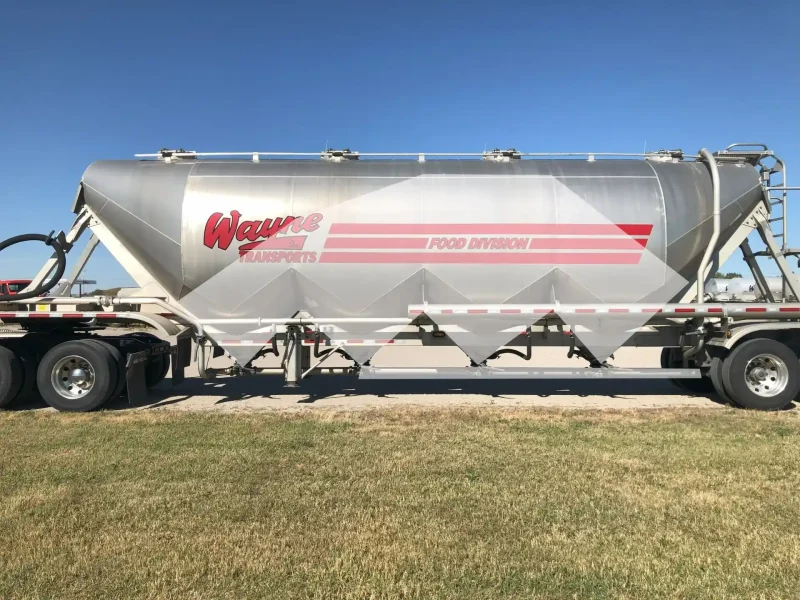
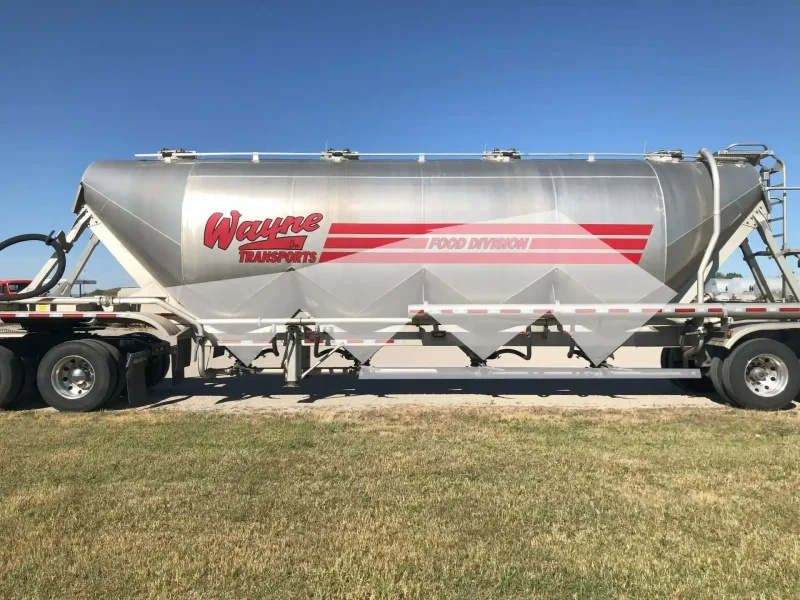
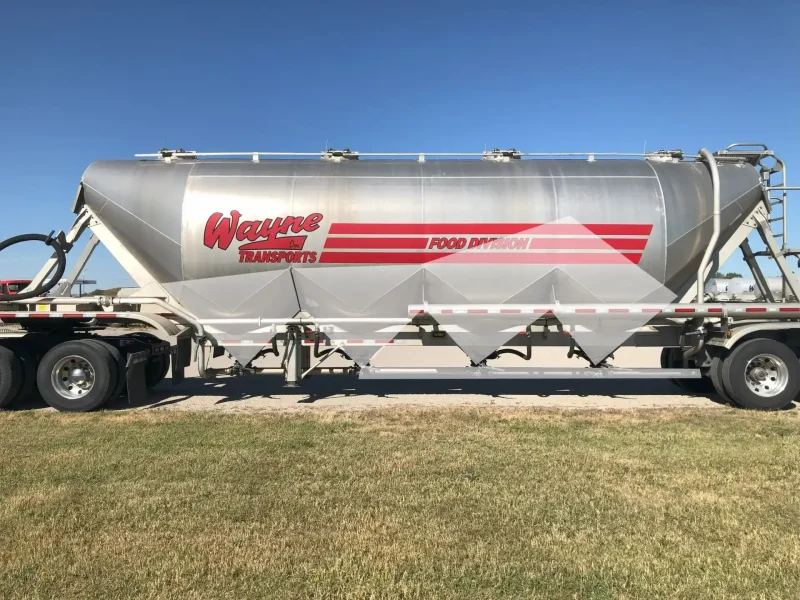
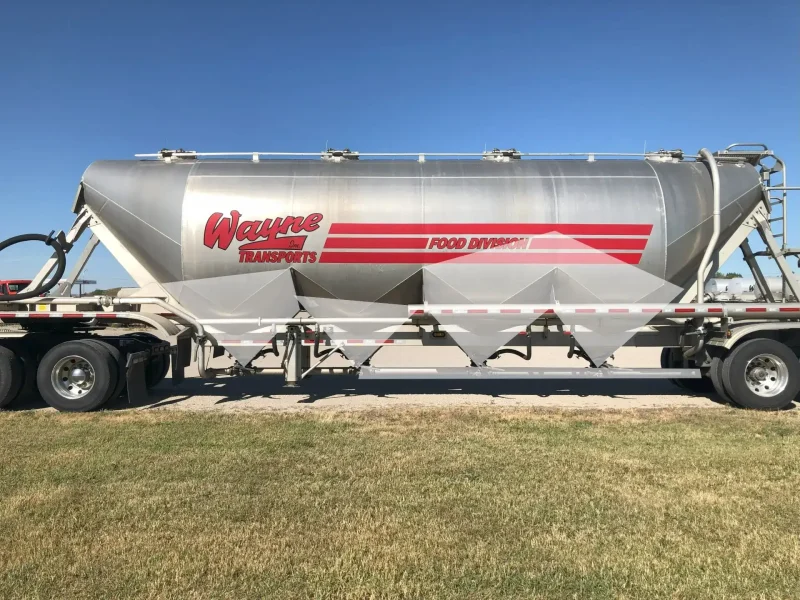
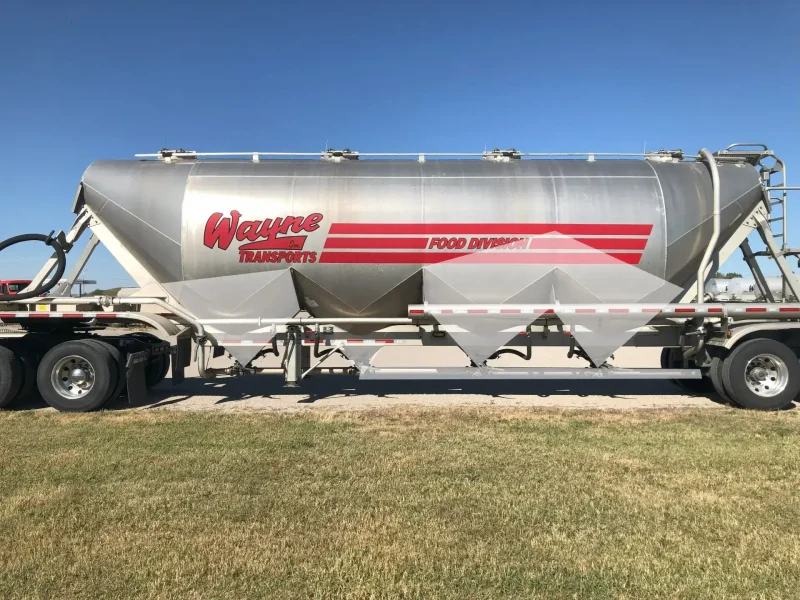
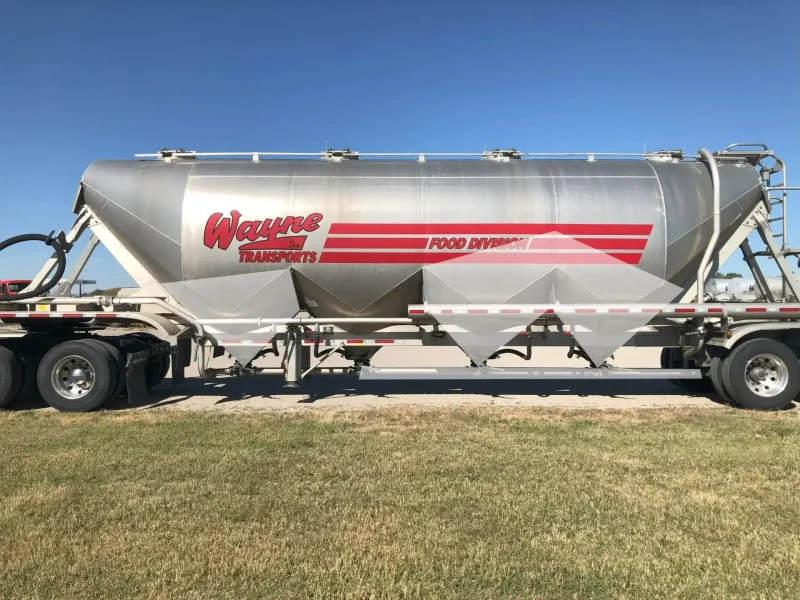
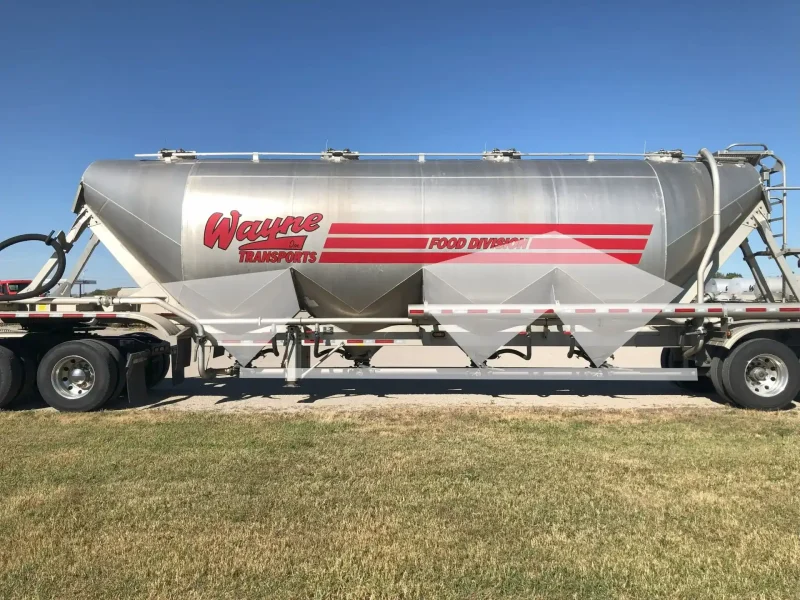
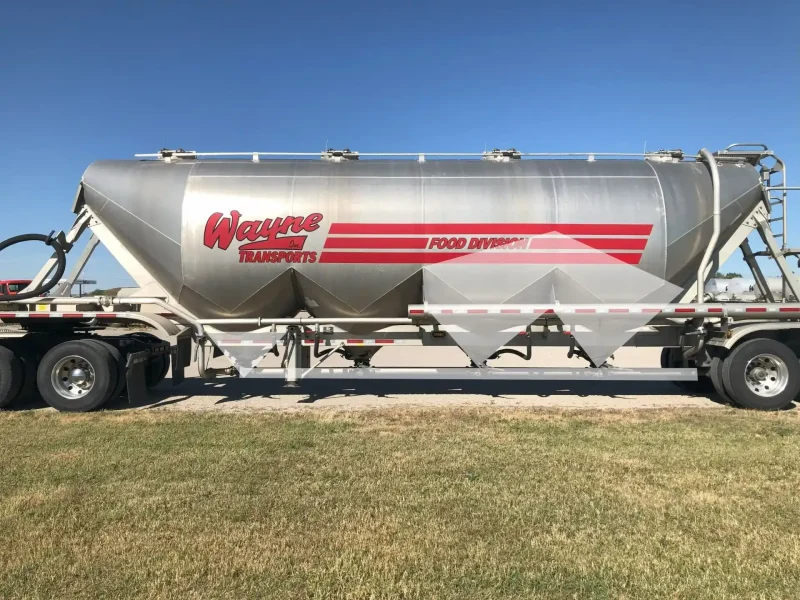
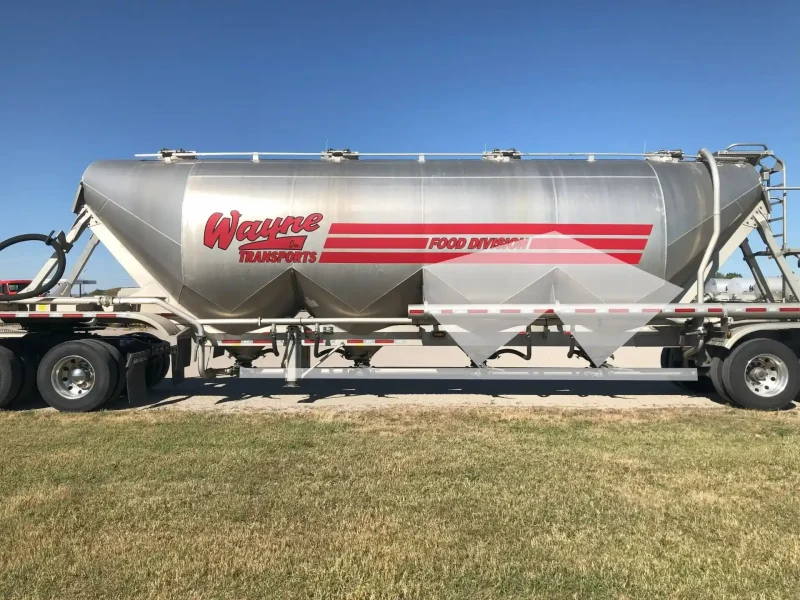
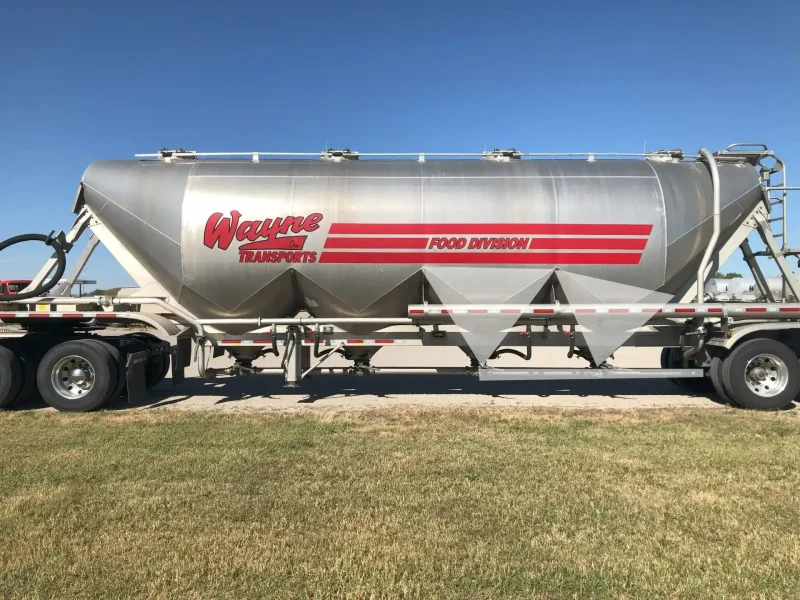
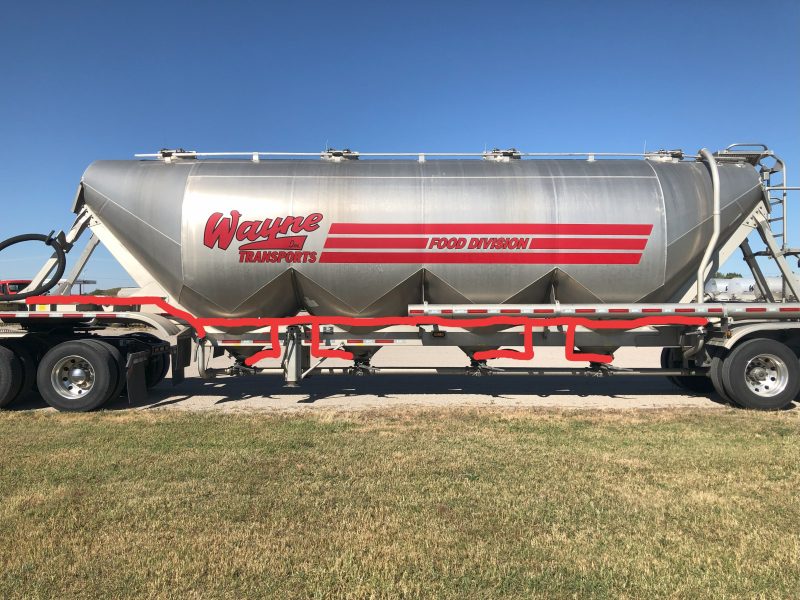
P.S. If you are interested in a career hauling dry bulk in the Midwest check out my review of Wayne Transports here