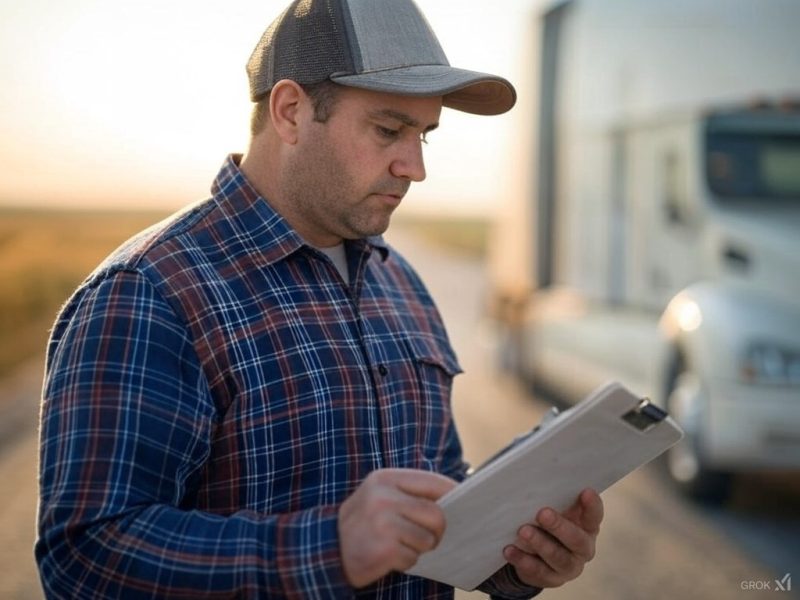

Hey there, I’m Alex. With 8 years in the trucking industry and over a decade of investing experience, my goal is to help fellow drivers succeed on the road. Whether its your first year driving or you want to become an owner operator. I’m here to help you out.


Hey there, I’m Alex. With 8 years in the trucking industry and over a decade of investing experience, my goal is to help fellow drivers succeed on the road. Whether its your first year driving or you want to become an owner operator. I’m here to help you out.